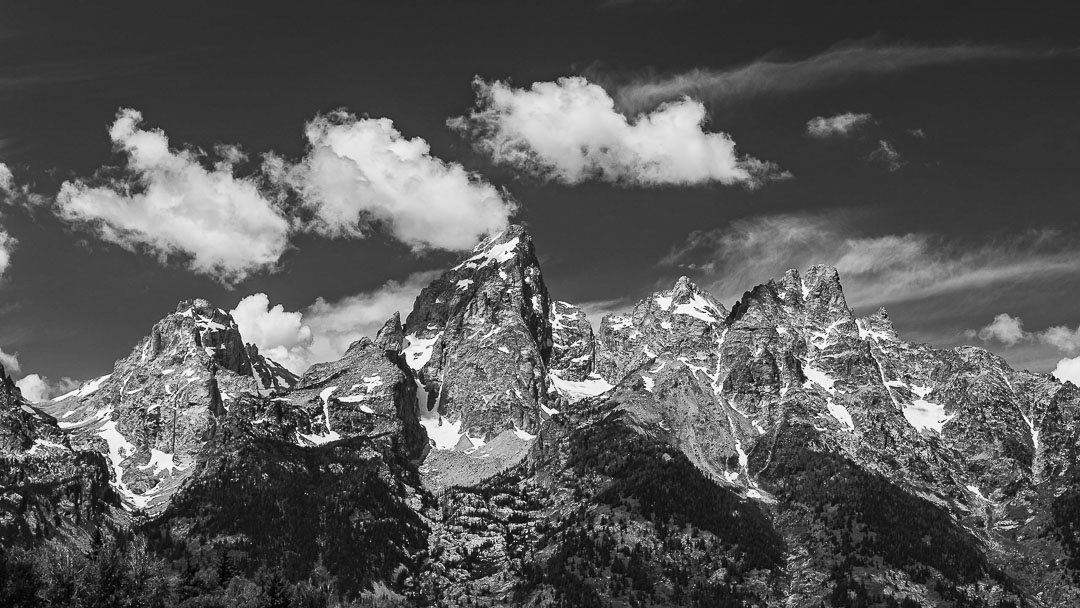
Today we’re going to take your mountain landscape photography to a higher level. Our tips will give you a solid base to build your skills on and learn how to create much stronger compositions. Whether you’re a complete newbie to mountain photography or more advanced, you’ll find some valuable tips here you can actually use. You don’t have to be a sherpa or an extreme sports athlete to get those great mountain photos. In fact, you don’t have to have any climbing skills at all, as long as you can hike a trail! Let’s dive in.
Do Your Research and Get There Early
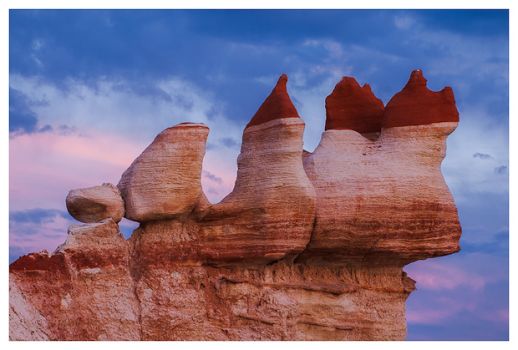
When you’ve decided which mountains you want to photograph, it’s time to do a bit of research. Which trail or route are you going to take? How long will it take you? What should you wear? How much equipment do you want to carry? Then, once you think you’ve answered all these questions, remember to give yourself extra time, in case you see something else you want to photograph too!
If you’re already a seasoned hiker, you’ll find it much easier and faster to get out into the mountain wilderness compared to someone who is new to it, and you’ll be able to plan a more advanced trip that may involve wilderness camping.
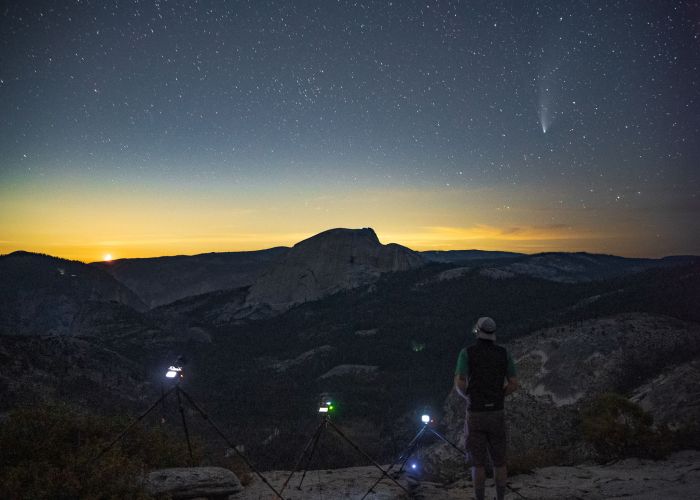
Are you more accustomed to a stroll in the park or on a path, than a tough mountain hike? Then you’re hopefully going to start with mountains that are not hard to reach. There are many beautiful destinations you can reach by the side of the road, but, don’t let that stop you from dreaming of seeing jagged peaks up close.
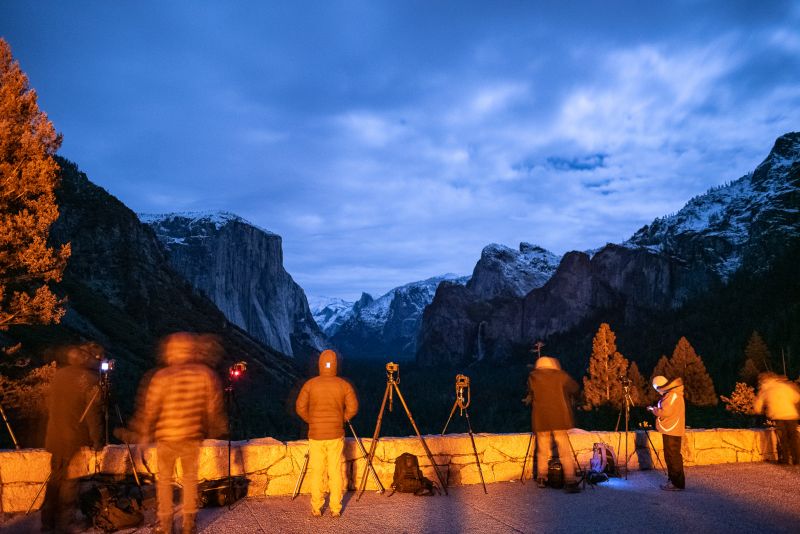
With a telephoto lens, you can even shoot some mountains from the side of the road and make it look like you’re a lot closer than you are! You’ll want to get to your chosen location early so that you can find the best compositions before you start. This will save you time when you start taking your mountain photos.
Find Good Mountain Landscape Photography Ranges
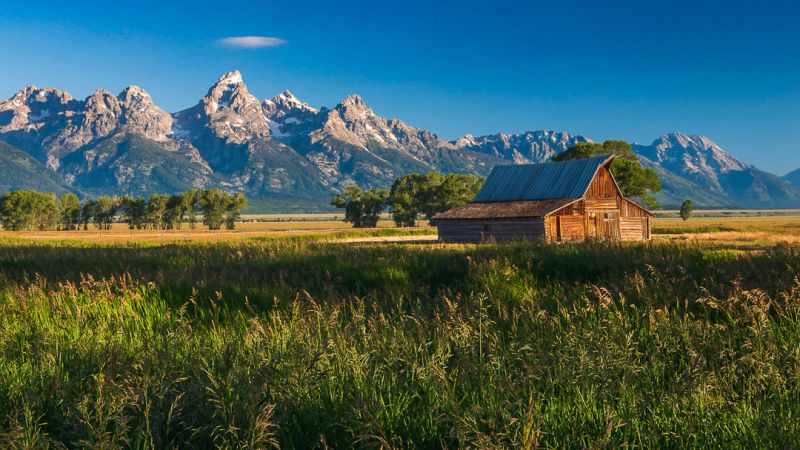
“Do your research” is great advice, but where should you even start looking? Don’t worry, we’re here to get you started and inspired.
Right in the middle of the US, any good list of ranges to start your mountain landscape photography will include the Rocky Mountains, with over 300 miles of hiking trails. Spring and summer offer fantastic wildflower blooms which can be used as a foreground for your mountain photos.
Going back East, the Great Smoky Mountains offer a different look, with the fog that hovers around the tree-shrouded peaks giving these mountains their name.
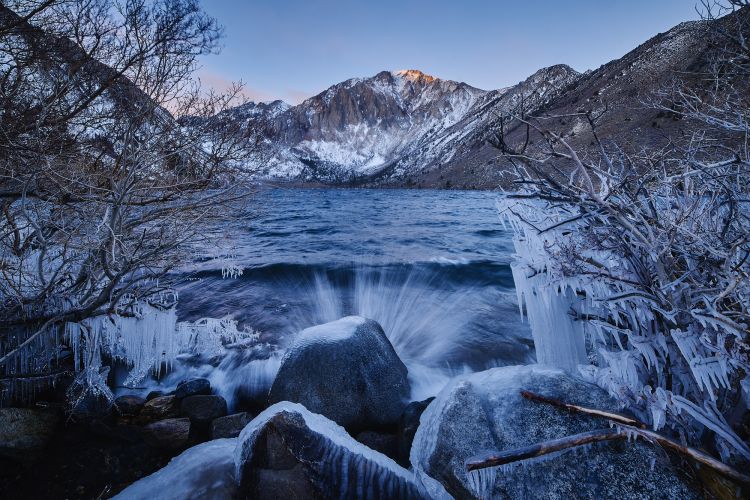
Out West, the California Coast ranges include the iconic Big Sur region, and you can drive the Pacific Coast Highway if you don’t want to hike. Of course, there is the most famous mountain range in California, with the highest peak in the contiguous USA: The Sierra Nevada.
Those looking for a more remote and lesser-traveled mountain landscape should check out the Alaska Range, which includes Denali, the highest mountain peak in North America.
If you want to travel further afield, and are ready to travel internationally, the Italian Dolomites as well as the Patagonia area of Chile offer the most jagged mountains in the world and always make for some amazing images.
The Scottish Highlands provides the Cairngorms, and also Black Cuillin on the isle of Skye, while Norway has the beautiful Lofoten mountains. In Australia, there are the stunning Snowy Mountains, which include Mount Kosciuszko.
Use Different Focal Lengths
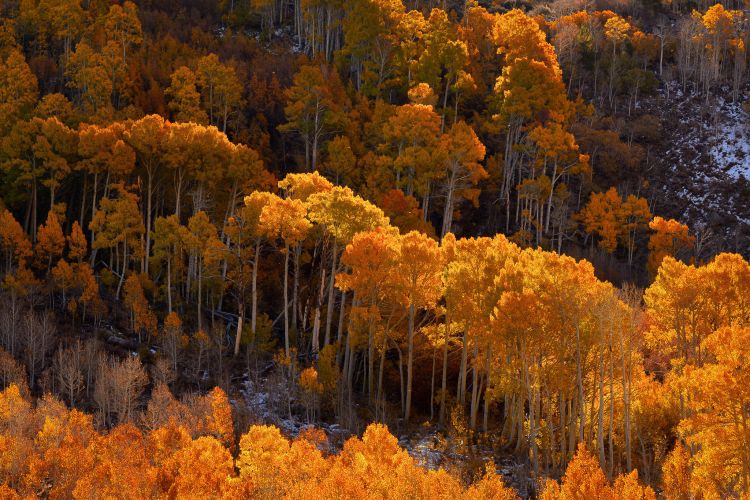
There are two main ways to photograph mountain landscapes: creating wide-angle images using the mountains as a backdrop to a foreground scene, and/or using a telephoto lens to zoom in on the mountain peaks themselves, or other alpine detail photos. The most common is the wide-angle approach, but for a different flavor try using a tripod with a telephoto zoom lens from around 100mm to 500mm to get much closer into the mountain itself.
Getting closer to the peaks means you can capture the winds blowing snow off the edges, or the light playing over the textures of the rocks. Sunrise and sunset are great times to capture mountain photos with a longer focal length. Zooming in can also help when the weather and light isn’t working well for your mountain images as a whole. (Just be sure you have a heavy-duty tripod for shooting at telephoto focal lengths in windy conditions! Otherwise, your sharp, exotic tele zoom lens will give you nothing but soft images.)
Find Light That Creates Shape and Texture to the Mountain
In portrait photography, flat and soft light is often the most desired light to use. In mountain landscape photography, however, flat and soft light can actually lack interest and character. Unlike a person’s face, we generally want to see all of the detail, the bumps, and the shadows of a mountain. Sometimes, this means that the most interesting light can come from the left or right sides of the frame. Also, the light doesn’t always have to be soft or diffused to look interesting.
Use the Foreground for Strong Composition
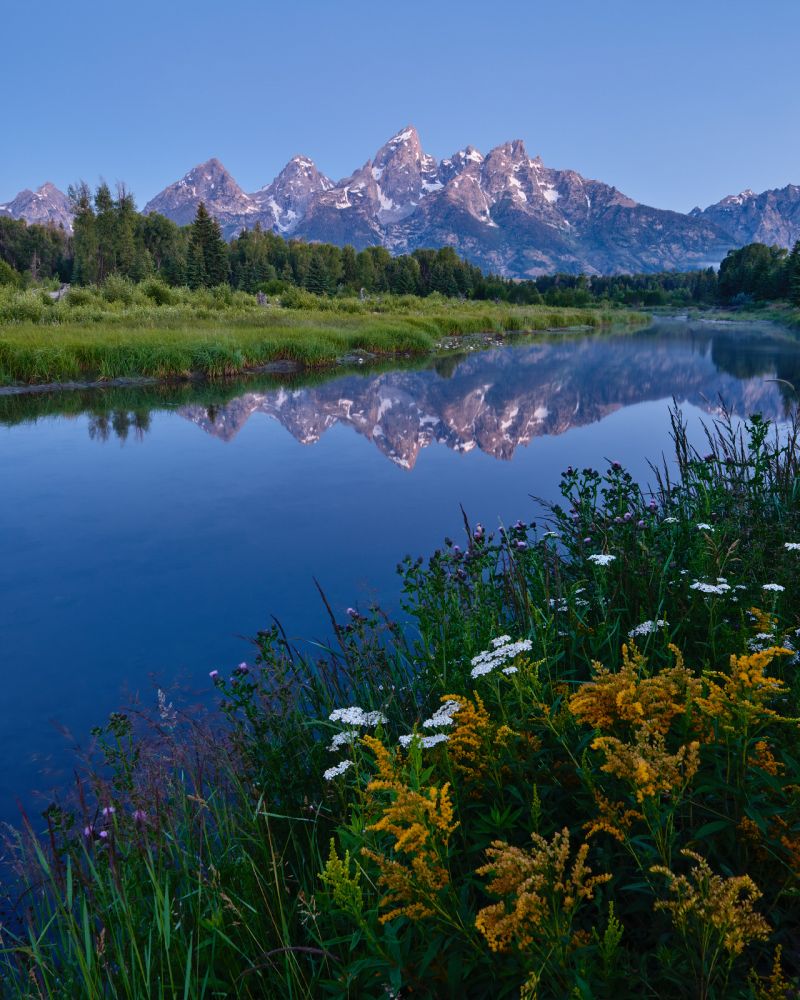
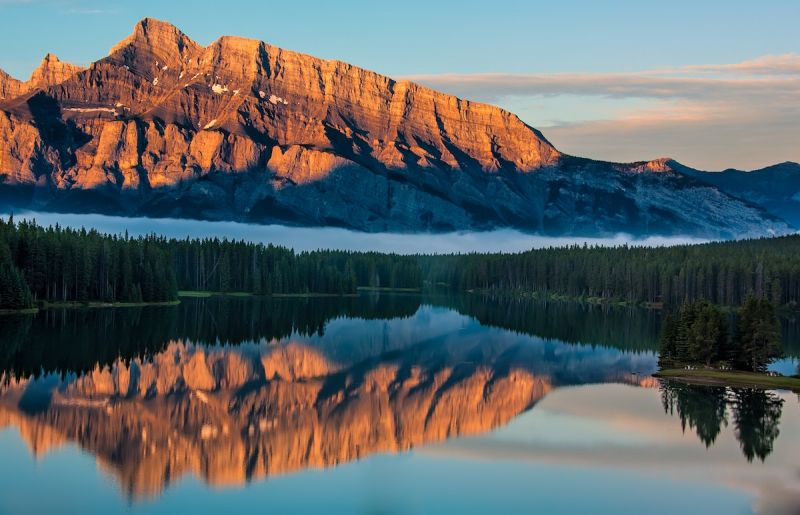
It doesn’t matter what time of year you choose to do your mountain landscape photography, there will always be opportunities to include plenty of foreground interest. We mentioned using foregrounds in our general landscape photography tips article, and we’re mentioning it here again because foregrounds are especially important in mountain landscape photography. Foreground elements help provide scale for the mountains in the middle ground and background of the image.
Use the foreground to lead the viewer’s eye into the mountains. You can use grass and wildflowers in the spring and summer, ice and snow in the autumn and winter. Foregrounds should ideally be there to help your main subject – the mountain – stand out. With this in mind, try to avoid too much distraction in the foreground, and look for leading lines and color contrasts to give your image depth and interest.
Try Bracketing Your Exposures
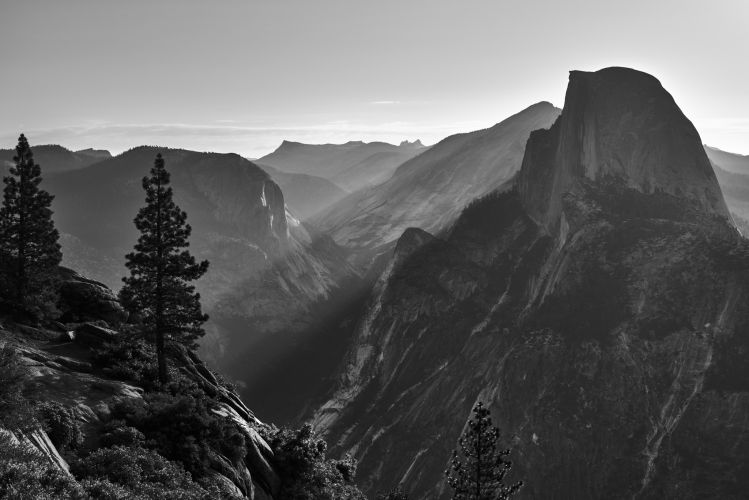
The bane of the landscape photographer is surely the massive range of landscape shadows and much brighter skies that can throw off your exposure. Add in stormy weather, or even just a good sunrise or sunset, and the level of contrast present in a scene can easily be more than even the latest digital camera sensors can handle.
Graduated filters are often used in landscape photography to solve this problem by darkening down the sky, however, because mountains tend to be jagged the GND filter solution doesn’t work well with them. The transition zone of a graduated filter is in a straight horizontal line, and any bits of mountain sticking up into the darker area will become darker compared to the rest of the mountain.
Therefore, bracketed exposures are a way around this problem for your mountain photos. Bracket between three to five images at different exposures that capture good detail from shadows to highlights, and merge them into an HDR image in your image editing software. You can also use luminosity masking in Photoshop to create your image so that you get a balanced exposure for both sky and shadows.
Watch Your Crops
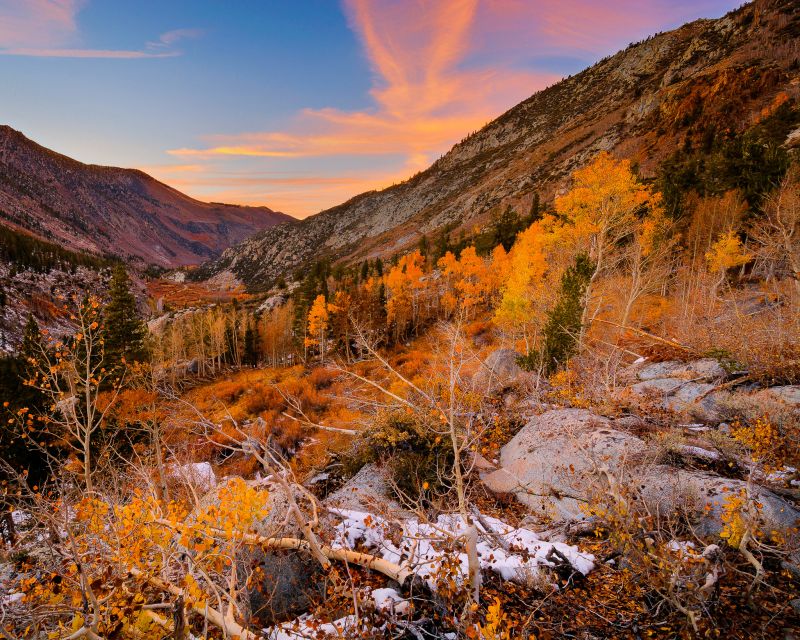
Just like you wouldn’t crop off a body in a random place in a portrait, ensure that you don’t crop the mountain range haphazardly as well. Leave ample room above the mountain range to give the top of the mountain some breathing room. And ideally, find and good place to crop on the sides as well. For example, try having part of the mountain range lead in from the top corner of the frame, like in the image below.
Use Juxtaposition for Scale
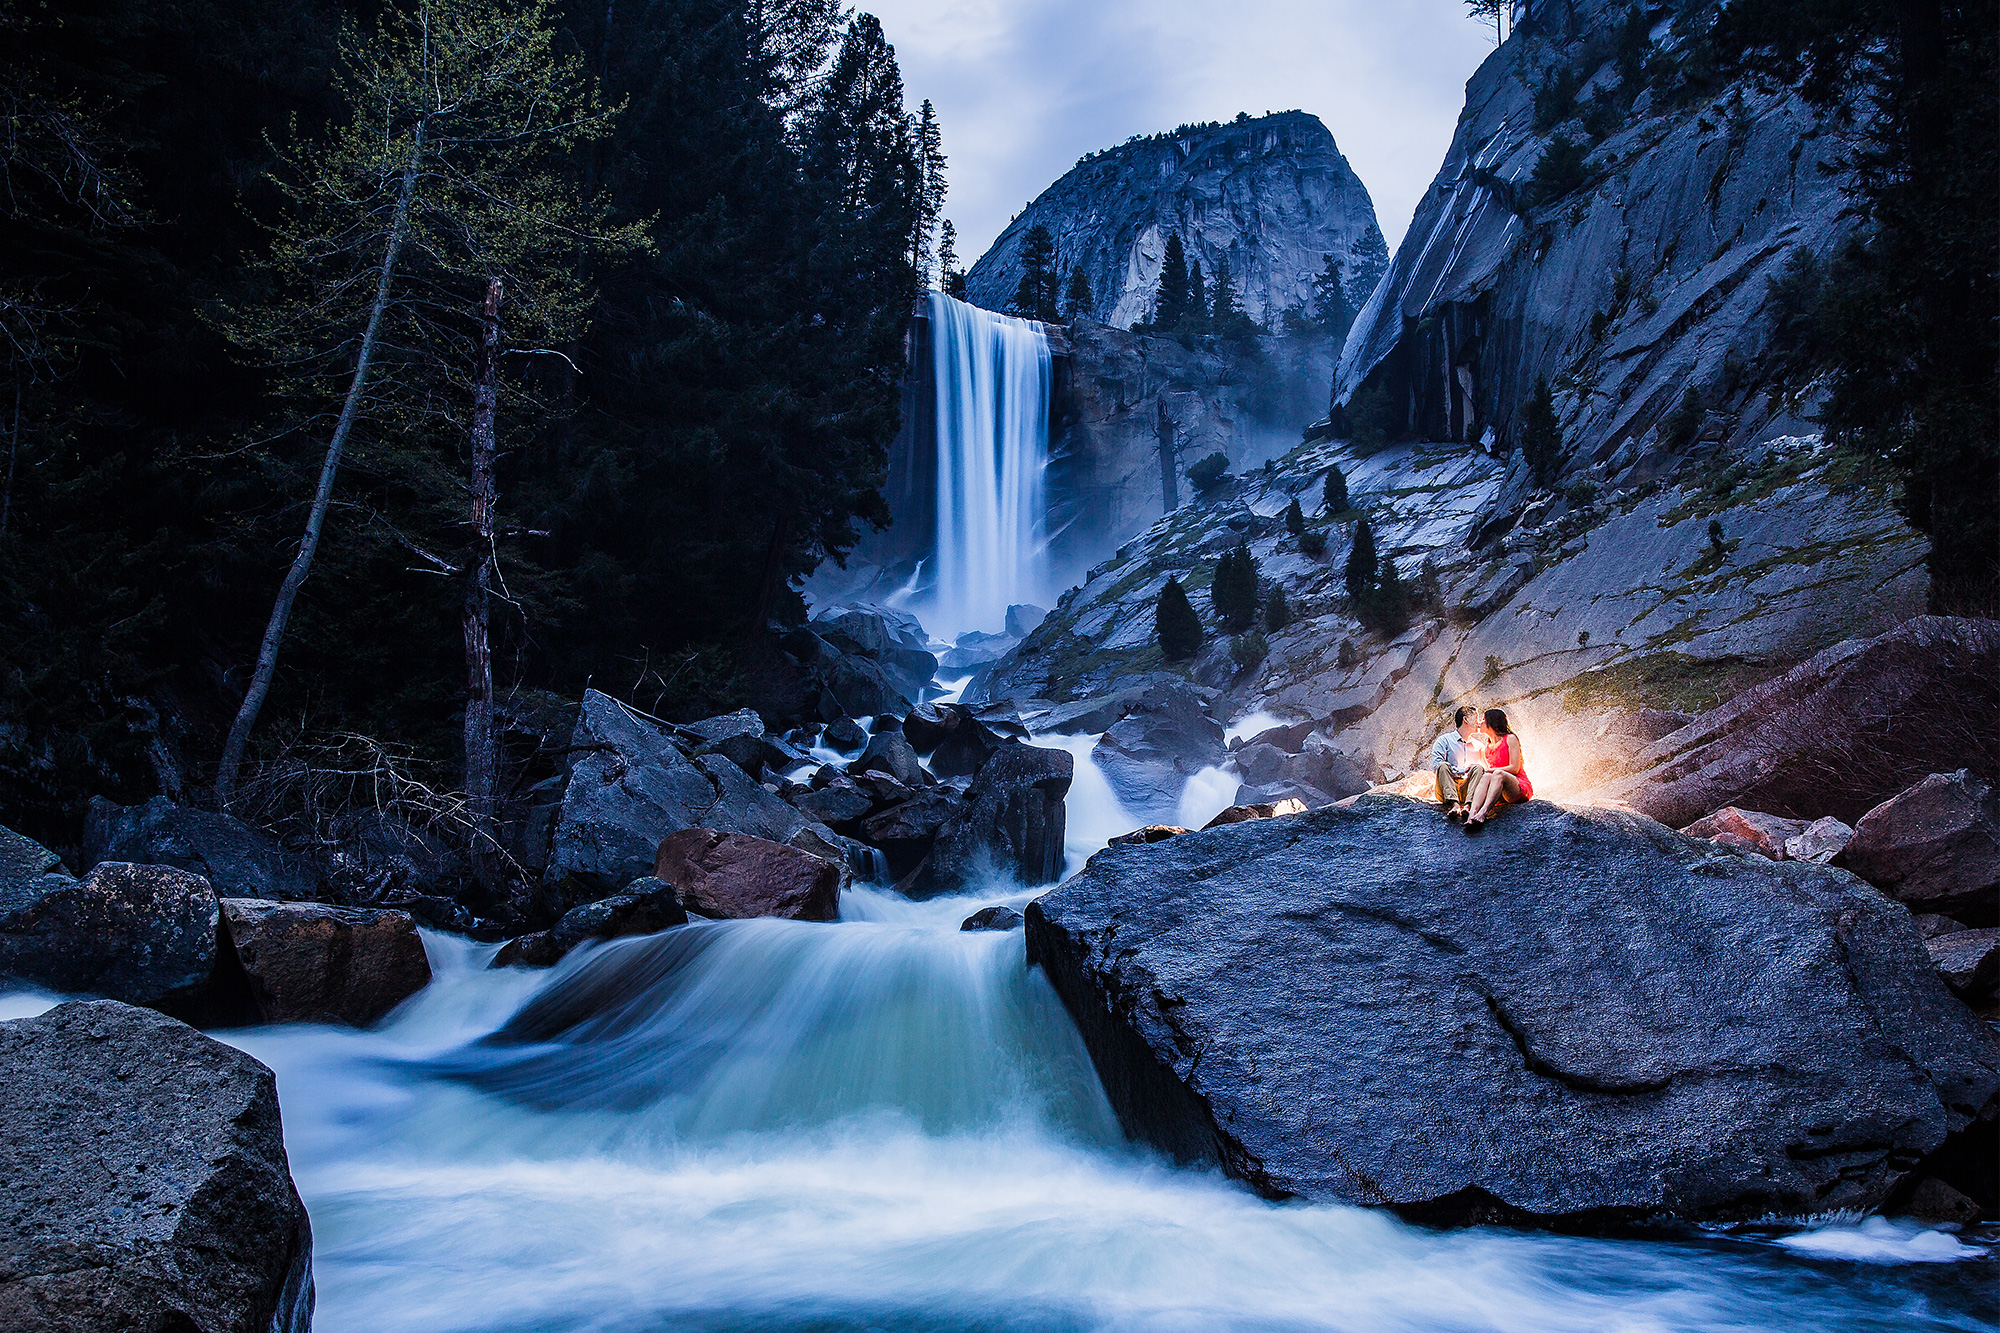
Capturing the immense scale of mountains can be challenging. To effectively portray their grandeur, consider including a human figure, a structure, or a plant or tree in your shot. This provides context and a relatable sense of scale via juxtaposition. However, it’s crucial to introduce these elements with purpose, not merely as afterthoughts. Here’s how to do it:
Position with Clarity and Purpose – Ensure the subject is positioned where they are easily discernible. A hidden figure amidst dense foliage won’t aid in conveying scale. It could just look like a mistake
Ensure Contrast – Make sure the subject stands out. If it’s a person, dress him or her in colors that stand out against the mountainous backdrop. Vibrant colors enhance the visual appeal and emphasize the scale effectively. You can also make the subject pop off the mountain background with light, using flash or natural light in the scene to bring them out.
Final Thoughts
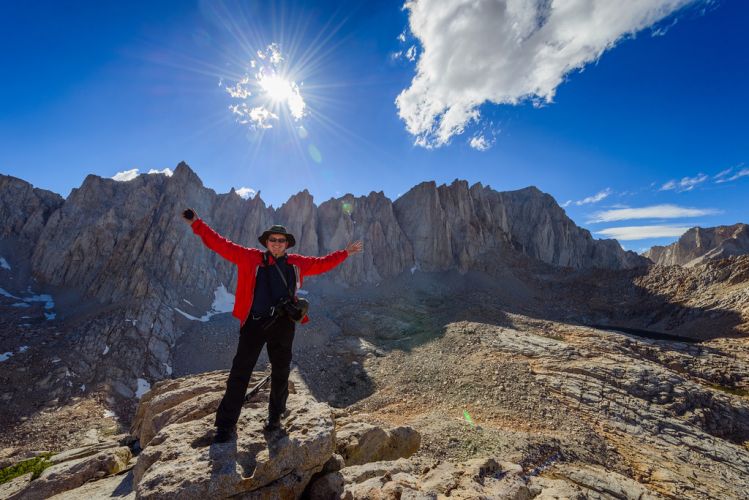
Mountain landscape photography can be one of the most challenging, yet rewarding, types of photography. You need to be adaptable to the constantly changing weather and light conditions, so it pays to be patient. There are many great spots where you can take awesome mountain photos just a few feet from the comfort of your car, but for those who want to get more adventurous, hiking the mountains is the way to go. Or, to reach even more remote mountain destinations, try backpacking overnight!
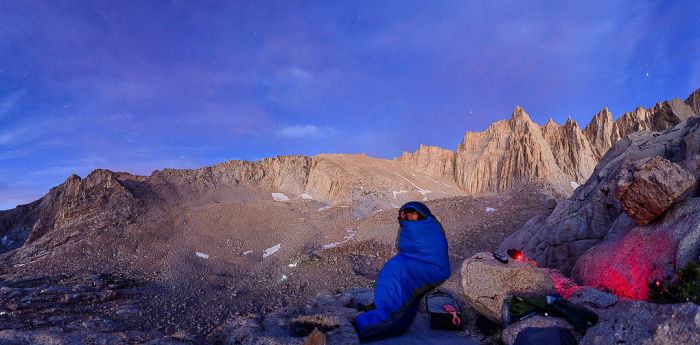
If you’re planning on doing some trail hiking, you need to be safe and aware of your surroundings. Use a GPS device to help you keep to the right trail. Ensure you have a way to contact help in an emergency (a satellite phone, for instance), and always keep an eye on the weather. As the great climber Ed Viesturs said: “Getting to the top is optional. Getting down is mandatory.”


Get Connected!