
A properly calibrated monitor is an essential part of color management and achieving the perfect image. But as a photographer, do you know as much as you should? This feature will break down the fundamental aspects of the calibration process to ensure your images always look exactly the way you intended to regardless of where they are being viewed!


If there’s one thing you can be sure of, when you post an image online, it’s going to be viewed on countless different devices, meaning that no two people will be seeing it the same. Generally speaking, most screens are set too bright along with whatever the default color profile the particular brand of monitor happens to use. For some, the differences will be minor, but for the majority, the color shifts will be significant! As a monitor or device gets older, the colors change, the contrast shifts, the black and white levels skew. No matter what you do, over time these screens and devices will slowly burn out and be less accurate.


In order to help ensure your images are at least color accurate and standardized is to calibrate your screen, (especially if you’ve already used an accurate color chart/calibration tool like the Datacolor SpyderCheckr 24), to ensure you’ve got the best color representation and brightness level on screen as possible.
What Is Monitor Calibration?

As we discussed in my previous post, color calibration is critical to ensuring your images always look accurate and consistent across all your devices. Yes, it starts with your on-set / in-camera shooting, but it’s still absolutely important and critical to calibrate your monitors as well!
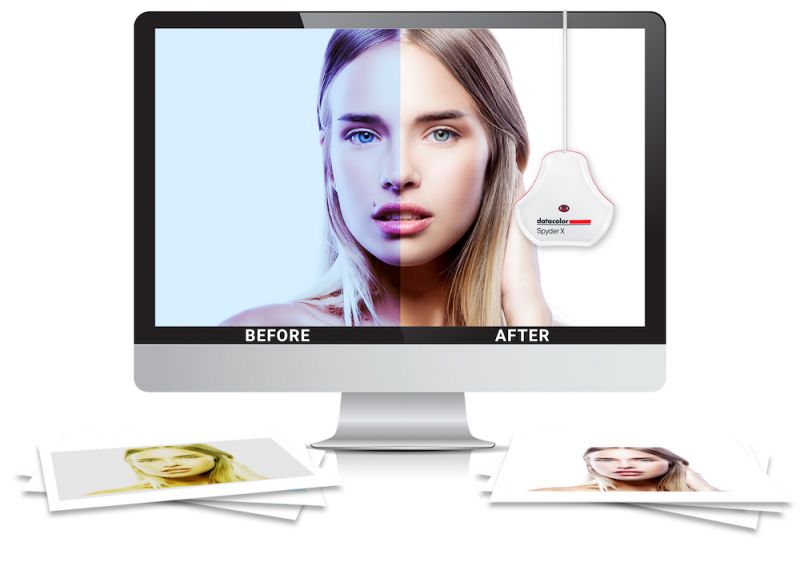
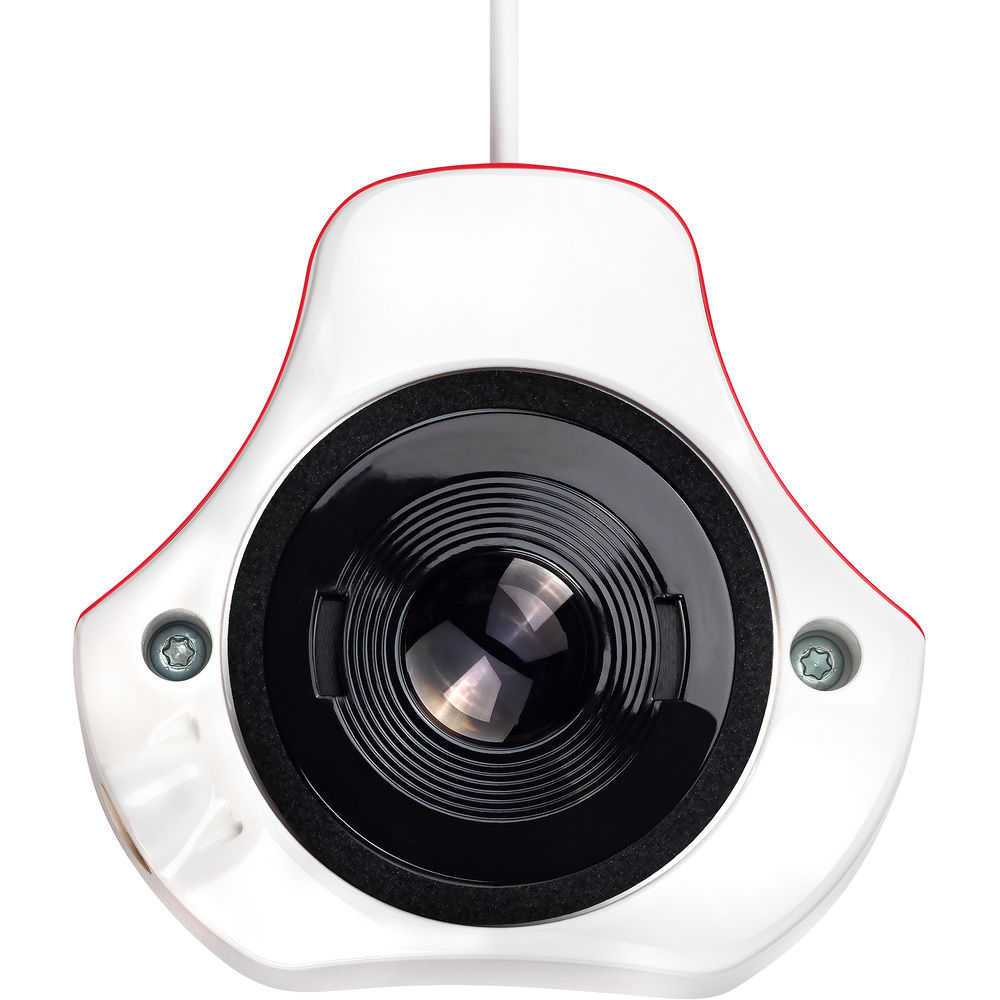
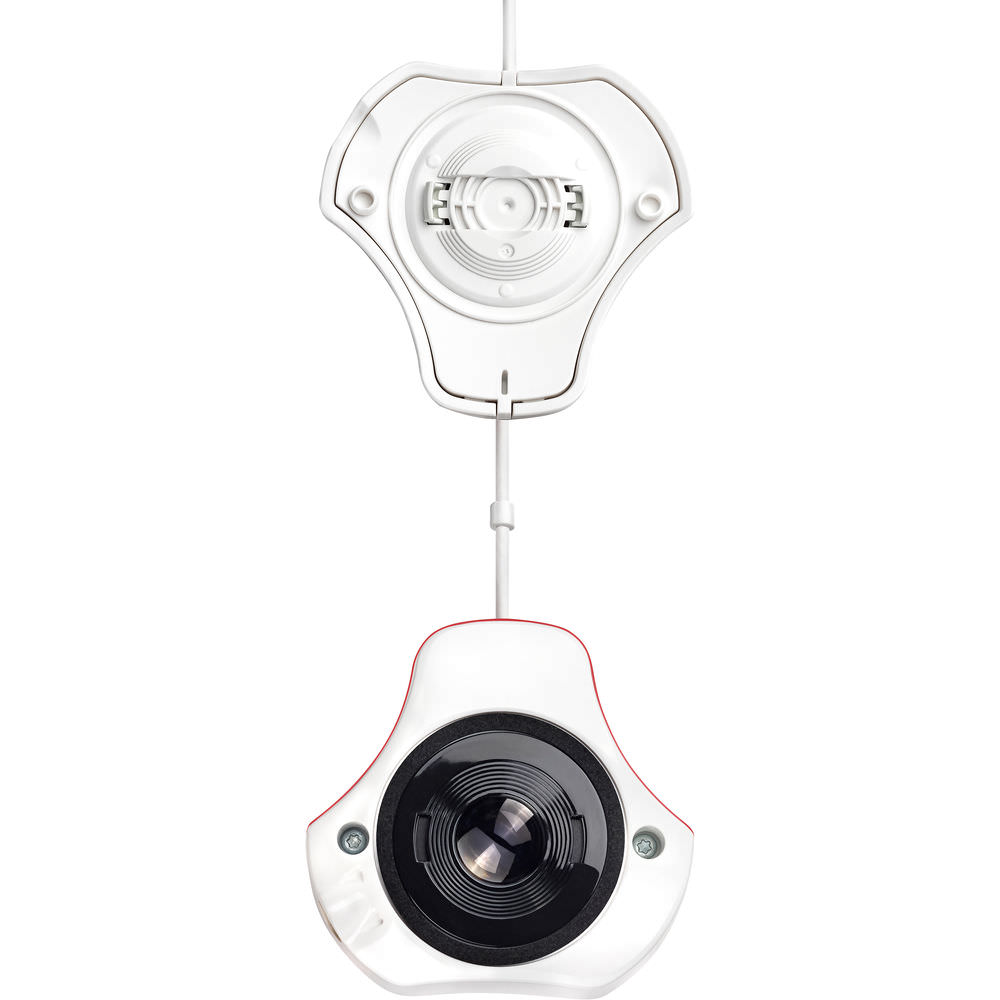
To calibrate your screens, you’ll need a small “hockey puck” sized device, (my Canadian is showing), that you hang on your screen and it measures the colors being displayed.
Technically speaking this is called a spectrophotometer, measuring the light color of your screen. There are plenty available on the market for you to choose from, and a LOT of top tier monitors come pre-packaged with them, but one of the best on the market is the SpyderX from Datacolor. They all have their pros and cons, but one thing I’ll scream from the mountaintops (and you can read my initial review of this device here), is that it is the fastest and most accurate calibration tool I’ve ever used! In fact, it actually saved my old laptop screen from the garbage heap.


I’ve gone through several brands of calibration tools and the SpyderX was the only one able to take my nearly 10-year-old laptop screen which was failing and very blown out, and actually create a profile, that while still not perfect (it was broken, only so much you could do), it got it to a point where I could actually edit without using an external monitor! It truly was a lifesaver and it took under 2 minutes to do! Something no other calibration tool was ever able to match, (and hasn’t since either!).
Why Is Calibration Important?
The best way to explain why calibration is important is to edit an image completely including color-grading and then print that image using the default settings. I can almost guarantee if you edit on an uncalibrated screen and make the image look great to you on that screen…it’ll differ wildly when you print it and compare the two. This example also applies when looking at the same image on different devices. The colors will vary from device to device, which is why it’s incredibly important to at least have your image and screen calibrated and synced properly.
There’s nothing worse than spending hours working on an image just to find out that the colors are completely off when you get them back from the printers. For instance, this is an old wedding photo I did, while not terrible, but when I initially worked on this, it was with my laptop that was uncalibrated, and a screen that was (at the time unknown to me) dying. So as you can tell, the greens are WILDLY oversaturated. When I first sent these off to be printed…yeah….it was a shocker haha.

Calibrating is important even if you don’t ever plan on printing, as mentioned above, even viewing on different devices will cause shifts in color and clarity. A good indication that your monitor needs to be calibrated is when your images end up having a slight color cast or seem washed out / flat when viewed on anything other than your monitor (IE Instagram and your phone)


How Do You Calibrate Your Monitor?

Using the Datacolor SpyderX Elite or SpyderX Pro is pretty straightforward as they will walk you through the entire process. Once you open the app, select Calibrate My Display and click next, the app will then provide you a checklist of things to be sure of before moving forward, then you want to select your monitor type, (for instance, my MacBook Pro screen is a “Wide LED”), and then click next to move into the workflow selection.


Here you’ll choose if you want a step by step assistant, simply choosing a profile to match from another monitor, or using the “expert console” to give you total control. Then we dive into the fun stuff. The next step is to select the calibration depth for your screen. Given that the process is so fast, I tend to do a full calibration each month to ensure that my monitor is getting the best color presentation possible.

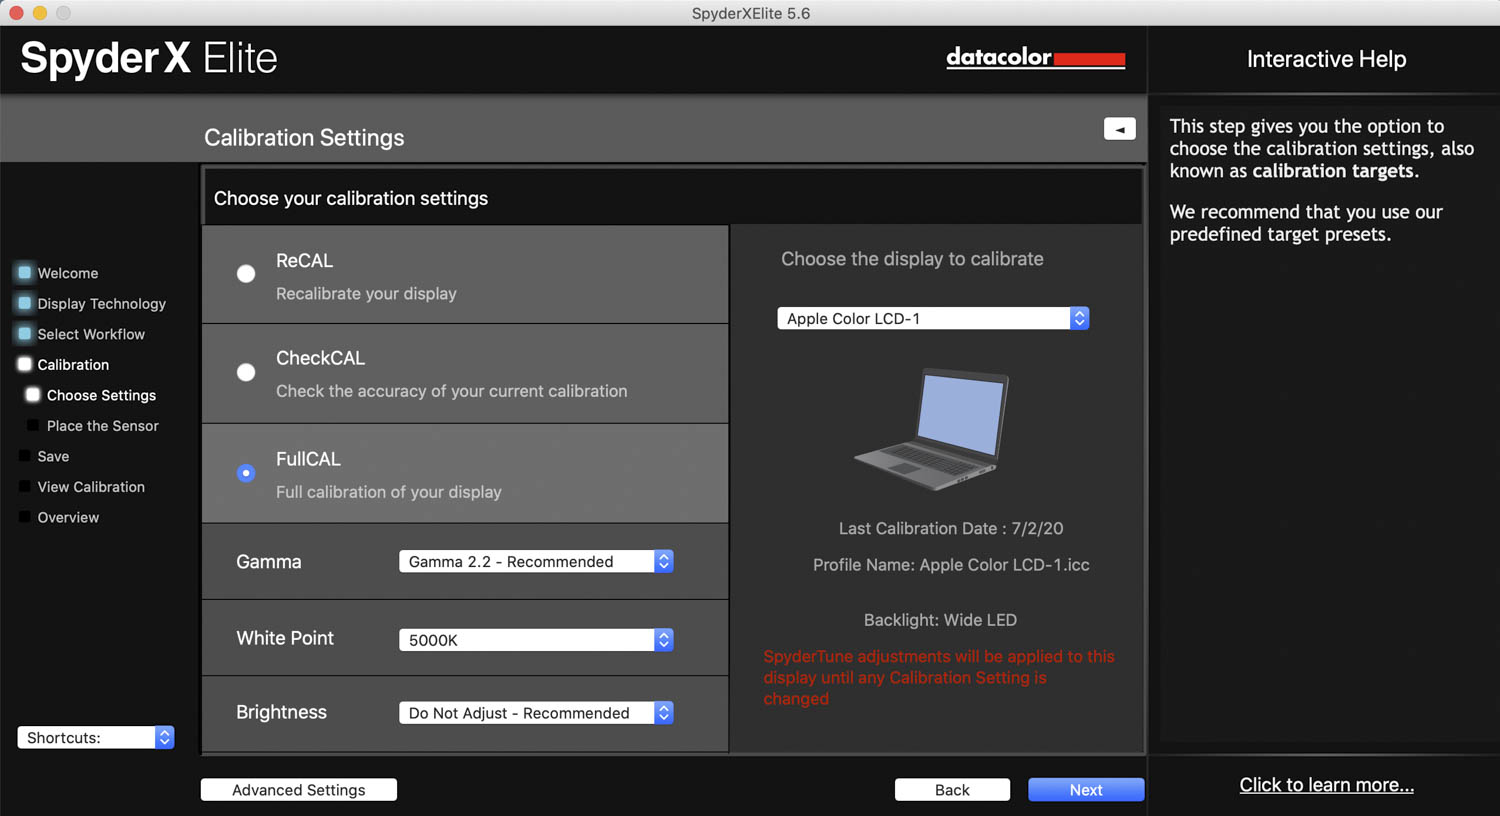

Then just place the SpyderX calibration tool in the place shown by the app and click next. Once the calibration is complete, you’ll be prompted to name and save the profile created and then the fun stuff happens.
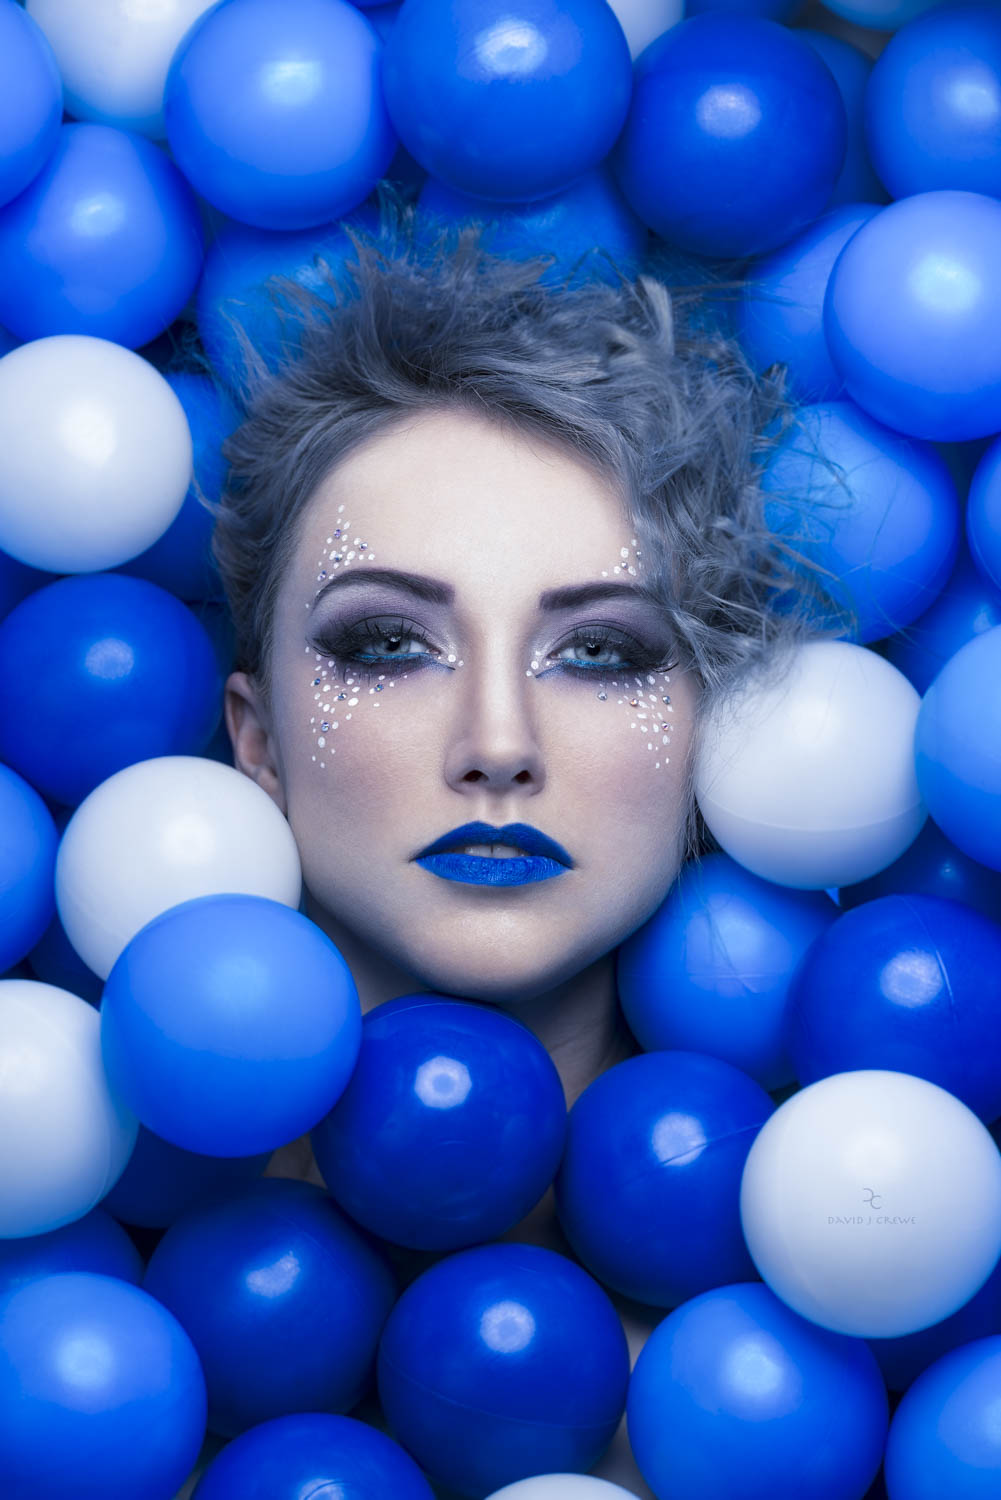
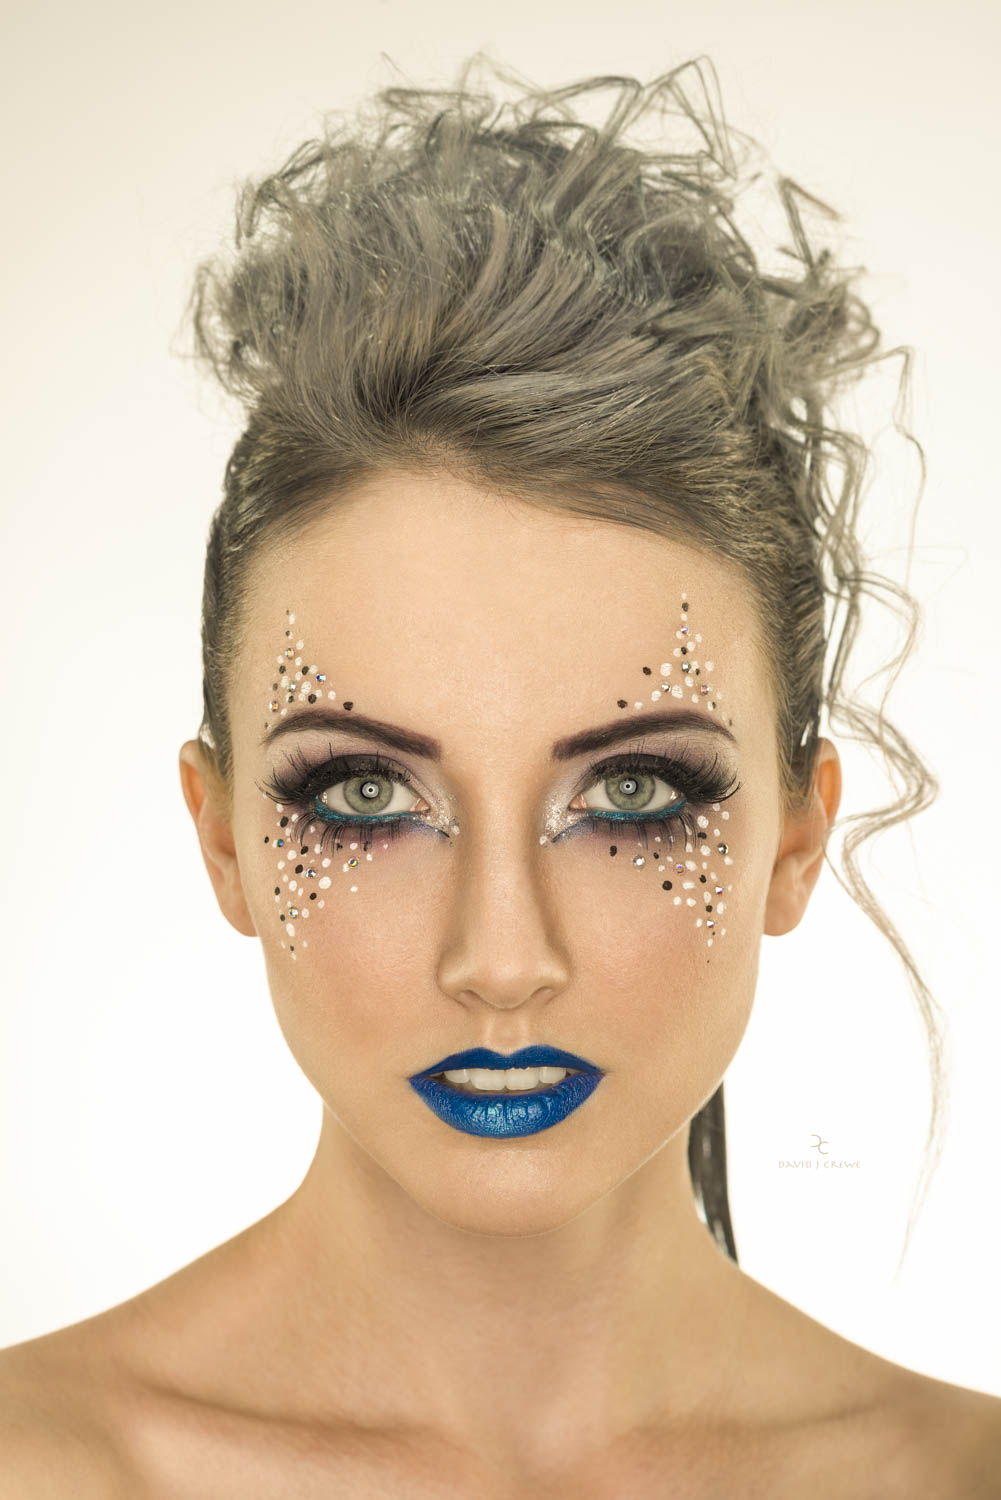
On the next screen, you’ll be given an array of images ranging from landscapes to color swatches to portraits showing you your nice new (accurate), calibrated color profile for the monitor! And the best thing here is you can now click a button to “switch” and show the previous uncalibrated view! This screen is kind of epic as you can often see a drastic shift in color, contrast, and sharpness! After you move past this the application will show you the % of sRGB, NTSC, P3, and AdobeRGB covered by your monitor and the calibration.


And that’s it! It’ll definitely take you longer to read these steps than it will to actually calibrate your screen with the SpyderX tools. You’re now running with a calibrated screen that’ll give you accurate color representation in applications like Lightroom, Capture One Pro, and any browser you use!
Conclusion
As a visual creative, we spend hours and hours a day staring at our screens. From the Back of the camera, to our smartphones, to our laptops/monitors/computers and tv displays….we’re always in front of one. So ensuring that all of these devices are calibrated and synced is critical, and yet is very often overlooked. Especially since no two brands or devices display colors the exact same way.


Failing to calibrate your camera, monitor, and print devices, especially when in a professional setting, can lead to some disastrous results for both you and your potential clients. It leaves you working “blindfolded” with next to no actual control over your finished product.
Having a calibrated screen is absolutely critical to your photo and video work. Getting your images “right” is one of the most important and first steps you should take with your work, so ensuring that your devices are consistent is critical to this process. You wouldn’t send your raw files to your client as the finished product? Because they aren’t finished. The same rules apply to your monitors. You should always edit on a properly calibrated screen to ensure you get consistent and quality results.
Datacolor has launched its SpyderX Photo Kit, at a special 50th-Anniversary price of $199* (retail price: $399) – a $200 savings!


The Datacolor SpyderX Photo Kit has everything you need in one convenient and cost-effective package to ensure precise color, depth, and detail for all your photos from capture through post-production. The SpyderX Photo Kit includes:
- SpyderX Elite – Datacolor’s fastest and most accurate calibrator to color calibrate displays. SpyderX Elite aligns seamlessly with monitor upgrades for screen types, resolutions and gamuts, and is 64-bit ready.
- Spyder Checkr 24 – Color correct your camera, lens, and system combinations for more consistent, accurate color within post-production workflow in Adobe Lightroom, Adobe Photoshop, and Hasselblad Phocus.
- Spyder Cube – Set your exposure and white balance in RAW conversion, for accurate detail across shadow and highlight areas.


Check Pricing & Availability of the Datacolor SpyderX Photo Kit Here;
Find the Datacolor SpyderX Elite Here;


Get Connected!