
One of the perks of being a photographer is the opportunity to travel. Whether it’s to go on an adventure of your choosing, an assignment to a remote part of the world, or a destination wedding: have camera, will travel.
We’ve asked 15 destination photographers to share with us their best travel photography tips gained from years of experience and hundreds of thousands of collective miles. From tips on what items you should pack and how you should pack them to how to charge for a destination wedding and more, these seasoned photographers give some great tips for your next travel adventure!
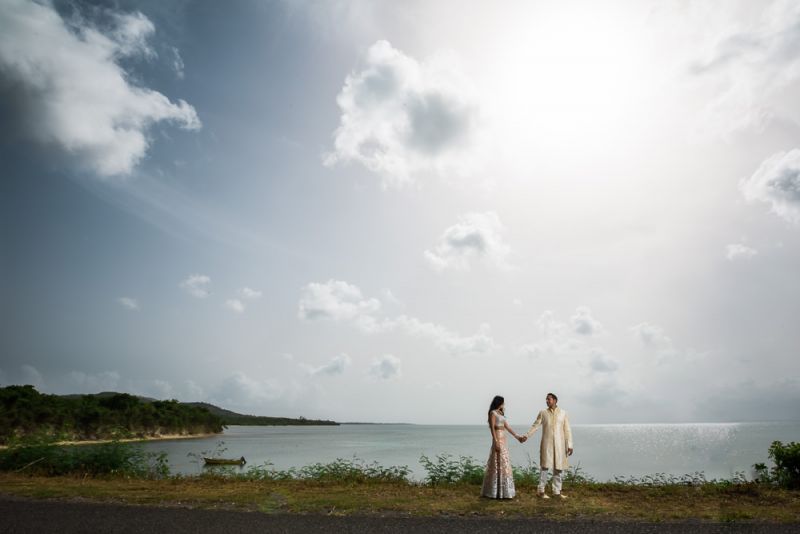
1. Nicole Chan of Nicole Chan Photography
Follow Nicole on her website, Twitter, Instagram, and Facebook.

Nicole’s Travel Photography Tip: Use packing cubes to organize clothes, electronics, toiletries, cords, etc. Packing cubes are the best travel item I own because they are lightweight (less than 1 ounce), translucent (so you can see the contents inside), machine-washable (for when you need to use one as a laundry bag), and flexible-but-stackable. I really like Eagle Creek packing cubes as well as eBags!
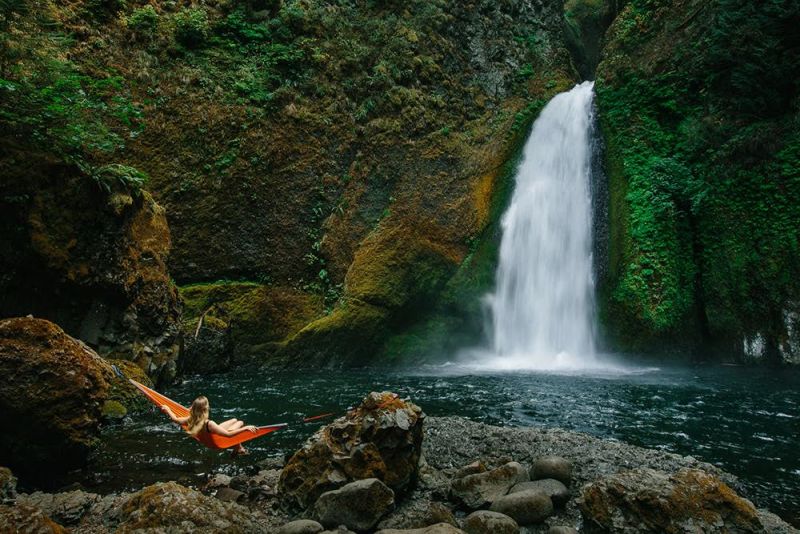
2. Nathan Nowack of Nathan Nowack Photography
Follow Nathan on his website, Twitter, Instagram, and Facebook.

Nathan’s Travel Photography Tip: While traveling abroad for destination weddings and sessions, I am always thinking about protecting my images. I never would want to lose my images due to theft, lost luggage, or damage, so backup is a very important part of my photography routine when I’m away. I bring a light laptop, small hard drive, and lots and lots of memory cards to backup daily. If it’s a long trip, I may even ship a duplicate copy home via FedEx.
An important thing to remember, too, to never keep your backups next to your gear or originals. If you need to hide your backup memory cards in some unused socks, toiletries, or around your neck, by all means. Shooting on multiple smaller cards will also allow you to save some of the data in case of an incident.
I use the Seagate smaller travel drives. They are reliable and inexpensive for a 1TB worth of storage and only need one fast USB 3 cable. I also like to carry hard memory card cases to protect and hide the memory cards after they have been used. I have 2, one for used cards and one for fresh new cards and typically turn the cards backward noting that they are full of images.
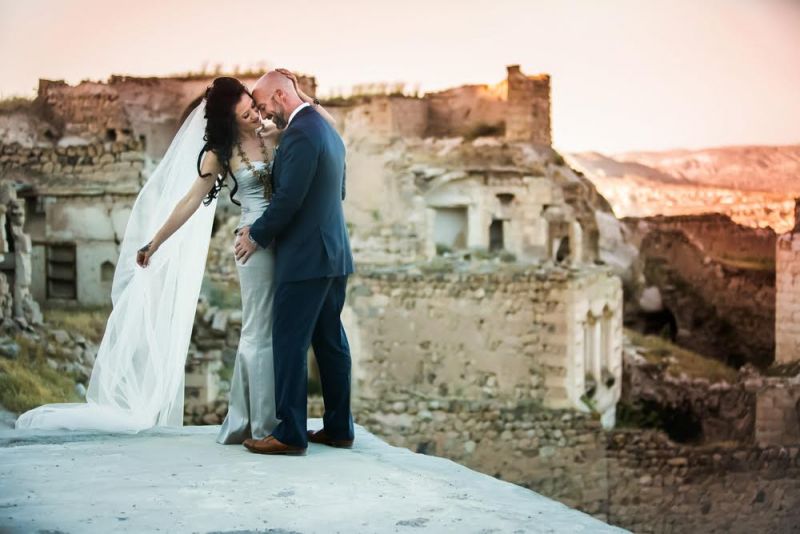
3. Tauran Woo of Tauran Photography
Follow Tauran on his website, Twitter, Instagram, and Facebook.

Tauran’s Travel Photography Tip: Tip #1: Shoot the icons – Every destination has a few nice spots, but I always make it a point to find out the most notable and recognizable spots in the area. Clients chose these places for their beauty, and I feel they haven’t gotten their money’s worth unless I include some of these awesome locations in their collection. Often when we shoot locally, we find ourselves using a random tree, or perhaps taking a lot of shallow depth close up portraits, but when it comes to destinations, I love incorporating the unmistakeable landmarks that make that spot amazing! In short, make your clients happy and create an unforgettable image that future clients will gravitate to and make you stand out!
Tip #2: Noise canceling headphones; if you don’t got ’em, get ’em. I like the Bose Quiet Comfort 25. If anyone does any amount of traveling, wearing these will be a revelation. It’s like it turns the airplane noise off completely!
4. Jason and Joanne Marino of Imagine Photography
Follow Imagine Photography on the website, Twitter, Instagram, and Facebook.

Jason and Joanne’s Travel Photography Tip: Always take the time to do something charitable if you can. A great way to do this is to research the people in the area you’re traveling to and document their lives. During a trip to Vietnam last year, I spotted a Hmong woman and her baby crossing a dirt road just outside their village near Sapa, Vietnam.
We spoke to the woman via translator and learned The Hmong people were chased out of Southern China and forced to live in the Mountains of Northern Vietnam, sustaining themselves on selling rice to locals, and trinkets to tourists.
Photos can be a powerful tool in giving a voice to the voiceless, and in this instance, showing the world the conditions others live in when forced away from their homelands.
5. Stephen Govel of Stephen Govel Photography
Follow Stephen on his website, Instagram, and Facebook.

Stephen’s Travel Photography Tip: Airline carry-on size and weight limits are no photographer’s friend (especially if you have a bit of gear), but I’ve found a workaround that helps with most airlines. First, you need to be flying with an airline that allows two carry-ons: a roller, and a personal item. Think Tank’s range has been perfect for me for this. I travel with an Airport International and an Urban Disguise.
I divvy up my lenses, bodies, and hard drives so that the roller meets the airline carry-on limit, and the shoulder bag has the rest and is sneakily swung around my back (while I’m trying not to look like there is 30lbs on my shoulder). Usually, if they are weighing carry-on baggage, they only weigh the roller bag, and then once you’ve passed the scales, you can put everything back in the roller, so your back doesn’t give out.
This has happened to me consistently when flying to Tahiti, Hawaii, and Canada to name a few. Also, it’s worth getting priority boarding (or running to the front when your group is called), so your big roller always has a spot in the overheads and doesn’t end up getting gate checked. Packing a bit of bubble wrap gives slightly extra peace of mind in case the worst happens, and they make you check your bag!
6. Dan Dalstra of Dan Dalstra Photography
Follow Dan on his Website, Instagram, Awards Profile and Facebook.

Dan’s Travel Photography Tip: I recently started carrying several bungee cords like these instead of lugging my light stands for destination weddings. I don’t have to check a bag or lose room for my clothes in order to fit my stands. I just toss several of these in my bag and when it’s time to light, I just bungee my flash to the nearest palm tree, column, monkey, bridesmaid, etc…
7. Emilia Jane of Emilia Jane Photography
Follow Emilia on her website, Instagram, and Facebook.

Emilia’s Travel Photography Tip: Plan to arrive at least two days prior to the wedding when you’re shooting in any location other than home! This helps ease travel stress, timezone adjustments, and gives you time to scout at the time you’ll be shooting at least the day before. I love to give my clients rehearsal dinner coverage for destination weddings to get to know the family and bridal party as a value-add for insisting that I show up two nights prior, too.
8. Chad DiBlasio of DiBlasio Photography
Follow Chad on his website, Twitter, Instagram, and Facebook.

Chad’s Travel Photography Tip: When you travel, the tendency is to take everything you think you might need, and usually, you end up lugging a bunch of stuff you don’t. The thing I try to always do when I travel is take less and force myself to be involved in the experience! I KNOW how to take photos, and I can make whatever I have work. I have to trust that. When I travel lighter, I let my creative brain take over in a situation where I might not “have what I need” and can make things work. My bag is small enough to fit on the smallest planes, and can easily be all I need to take if I’m going for a day trip!
The image above was taken with one speed light on a stand behind the tree and to the right. We needed more light, though, so I had the golf cart pointed toward the tree and turned on the headlights. There was a bit of a color difference without doing a gel on the flash, but I didn’t bring gels. So, I adjusted the camera white balance manually to a more neutral tone with the blue-ish light from the flash and the warm orange cast from the headlights and then fixed the final bit in post. It wasn’t ideal, but the moment wasn’t going to last for a 30-minute setup either. We made it happen with our limited gear and lens selection!
9. Ning Wong of Ning Wong Studios
Follow Ning on his website, Twitter, Instagram, and Facebook.
Ning’s Travel Tip: Always be ready for the unexpected. When you’re shooting a destination wedding, you don’t always have time to do location scouting. I suggest hopping in the same car as the couple, so when you see something amazing, you can pull over right away and shoot it. This also helps you build more rapport with the couple, allows you to think creatively and get your couple involved. You’ll be able to get those images that only happen at the spur of the moment!
10. Kate Noelle at Kate Noelle Photography
Follow Kate on her website, Twitter, Instagram, and Facebook.

Kate’s Travel Photography Tip: I’ve got a bunch of girl photographer travel tips, but two general ones that have proved most helpful are:
1. Pack to dress in [fashionable] layers that all coordinate so depending on how the weather changes on your trip, you always have something different (and coordinated) to wear.
2. Pack one pair of tall boots (or high top boots for guys). They’re one of my “go-to” pieces to make sure I’m prepared for any terrain/weather on shoots when I travel.
11. Lear Miller of Lear Miller Weddings
Follow Lear on his website, Instagram, and Facebook.
Lear’s Travel Photography Tips:
1). Humidity, If you’re not prepared, humid weather will cause your camera and lenses all the trouble in the world. When in tropical, humid places, store your gear in an area that has the same temperature as what you will be shooting in. For example: If you leave your AC hotel and walk outside to start shooting, your gear will instantly fog. Use Ziploc bags for your lenses when changing environments and Silica gel packs in your camera bag will also help in this scenario. Always keep a nice moisture absorbing microfiber cloth with you as well; they tend to work better than a standard lens cloth when wiping away fog.
2). When traveling, most photographers recommend you pack minimally. Being a commercial photographer, I tend to bring a larger amount of gear in my carry on. The Tarmac Expedition 9x is consistently the biggest camera bag and the best way for me to carry the most gear I can as “carry on” luggage. It’s unfortunately discontinued, but you can find them on Amazon. I’m on my 2nd one, and they have both lasted over five years (super durable). I am able to take six lenses (including 70-200mm), three camera bodies and four speedlights along with a laptop, hard drives, and any other supporting gear. Yes, it does weigh like 50lbs, but when it’s on your back, the flight attendants never question weight or size (it also helps to be over 6ft when carrying this monster bag).
Pro tip: roller bags are prime targets for being asked to be checked when the overhead is filling up. Ain’t nobody got time for that.
12. Cass Bradley of BlueSky By Cass Bradley
Follow Cass on her website, Instagram, and Facebook.
Cass’s Travel Photography Tip: When traveling for destination weddings, it is helpful to charge a flat-fee for travel (in addition to your collection fees) and to book your own itinerary vs. leaving it to the client. This allows you to plan your schedule, allow for appropriate safe/secure and close hotel accommodations (vs. potentially ‘budget friendly’ but not necessarily practical client choices.) This also leaves you the ability to take advantage of any airline/credit card miles or upgrades you may have to use.
It is also helpful to set appropriate client expectations as to a number of hours you are actually being hired to photograph. Clients can sometimes assume you are at their complete disposal for ‘add-on’ events such as excursions, rehearsal dinners or other events since you are already there and far from home. (This leaves no room for ‘hard feelings’ if you are seen poolside during the day-after brunch vs. photographing it).
13. Bud Johnson of Common Spark Media
Follow Bud on his website, Instagram, and Facebook.

Bud’s Travel Photography Tip: Be willing to extend yourself for larger opportunities. It doesn’t hurt to have cool business cards, too.
In 2014, I had the opportunity of a lifetime to second shoot a wedding in Paris, France. (Thanks again, Timothy Eyrich!) Obviously, we spent a ton of time taking photos of the incredible couple all around Paris, but we also had some personal time in between photo shoots. In that personal time, I hustled. And hustled hard.
With a stack of business cards, a smile, and enough French phrases to be dangerous – I hit the streets finding couples all over Paris to meet and photograph. Was I shooting for free? Yep. Do I like shooting for free? Nope. But I do like marketing myself in unique ways, and this was my chance to take photos, get emails, pass out business cards, and have direct face-to-face contact with potential clients in Paris – A chance I wasn’t going to miss.
In the midst of all this hustle, my friends and I stumbled upon two singer/songwriters outside the Shakespeare and Company bookstore. Not missing a beat, we offered some quick headshots in a bookstore that normally doesn’t allow photography. Our ticket into an incredible space, that turned into so much more. Not only did we take headshots of the singing duo, but I also recorded an impromptu music video that can be found online! Our chance encounter in Paris led to an awesome photo session here in the states, and because he’s written about so often and performs so much, my photos have been used in publications all around the world and online.
Being willing to push myself a little farther, in an already intense situation, (destination weddings are awesome – but can be intense!) turned into more commissioned work, incredibly fulfilling work, awesome stories, and life-long friends. Be willing to extend yourself for larger opportunities. Having a rad business card can help a bit too.
14. Jeremy Chou of Jeremy Chou Photography
Follow Jeremy on his website, Twitter, Instagram, and Facebook.

Jeremy’s Travel Photography Tips:
Tip #1 – Clients are traveling to exotic locations for their weddings, and they want to get the most out of their trip. Offer a day after session at one of the iconic locations that’re immediately recognizable and will let the clients remember the biggest day of their lives. This will also allow the photographer to showcase different locations other than the wedding ceremony/reception venue!
Tip #2 – Don’t nickel and dime the clients by itemizing everything. It is a huge honor that a client is willing to fly a photographer out to exotic locations to document one of the biggest days of their lives. Offer an all inclusive pricing and don’t sweat the small stuff.
Tip #3 – Arrive a minimum one day before the wedding if it’s within the same country, minimum two days if it’s international. Also, make sure to take the earliest flight of the day just in case there is a delay. If you take the last flight out, you will have no other option but to arrive the day after.
15. Trevor Dayley of Trevor Dayley Photography
Follow Trevor on his website, Instagram, and Facebook.

Trevor’s Travel Photography Tip: When I travel, the number one most useful tool is my Belkin 12-Outlet Pivot Surge Protector with an 8-foot power cord. Often hotel rooms lack outlets to plug your devices into, or if they do have them, they are stuck behind furniture. Using this allows me to easily create a power source for many devices so I can plug in my computer, phone, iPad, camera battery chargers and my AA-battery charger. Also, if you travel international – you will need just one adaptor instead of an adaptor for all your devices. In fact, I love this so much I often take it with me in my carry-on bag in the airport. Have you ever been walking through the airport looking for a place to plug in your phone only to find everything taken already? I’ve made some great friends in the airport just by offering this as a way for more of us to plug in and charge while we wait for our flight. If nothing else, I’m able to keep my devices fully charged while using them in the airport before I board.


Get Connected!