One of the most frequently asked questions we get regarding wedding photography is how to light receptions. Most reception ballrooms are dark and dingy with that infamous tungsten light overpowering the room. How do you light a wedding reception without throwing light all over the room and washing out the scene? In this wedding flash photography tutorial, we’ll teach you how to create better wedding reception photos by controlling your light.
This article was originally written in 2017 and modified in 2022 to include more images and tips.
The Video “How to create better wedding reception photos with Flash”
The Problem: Tricky wedding reception lighting

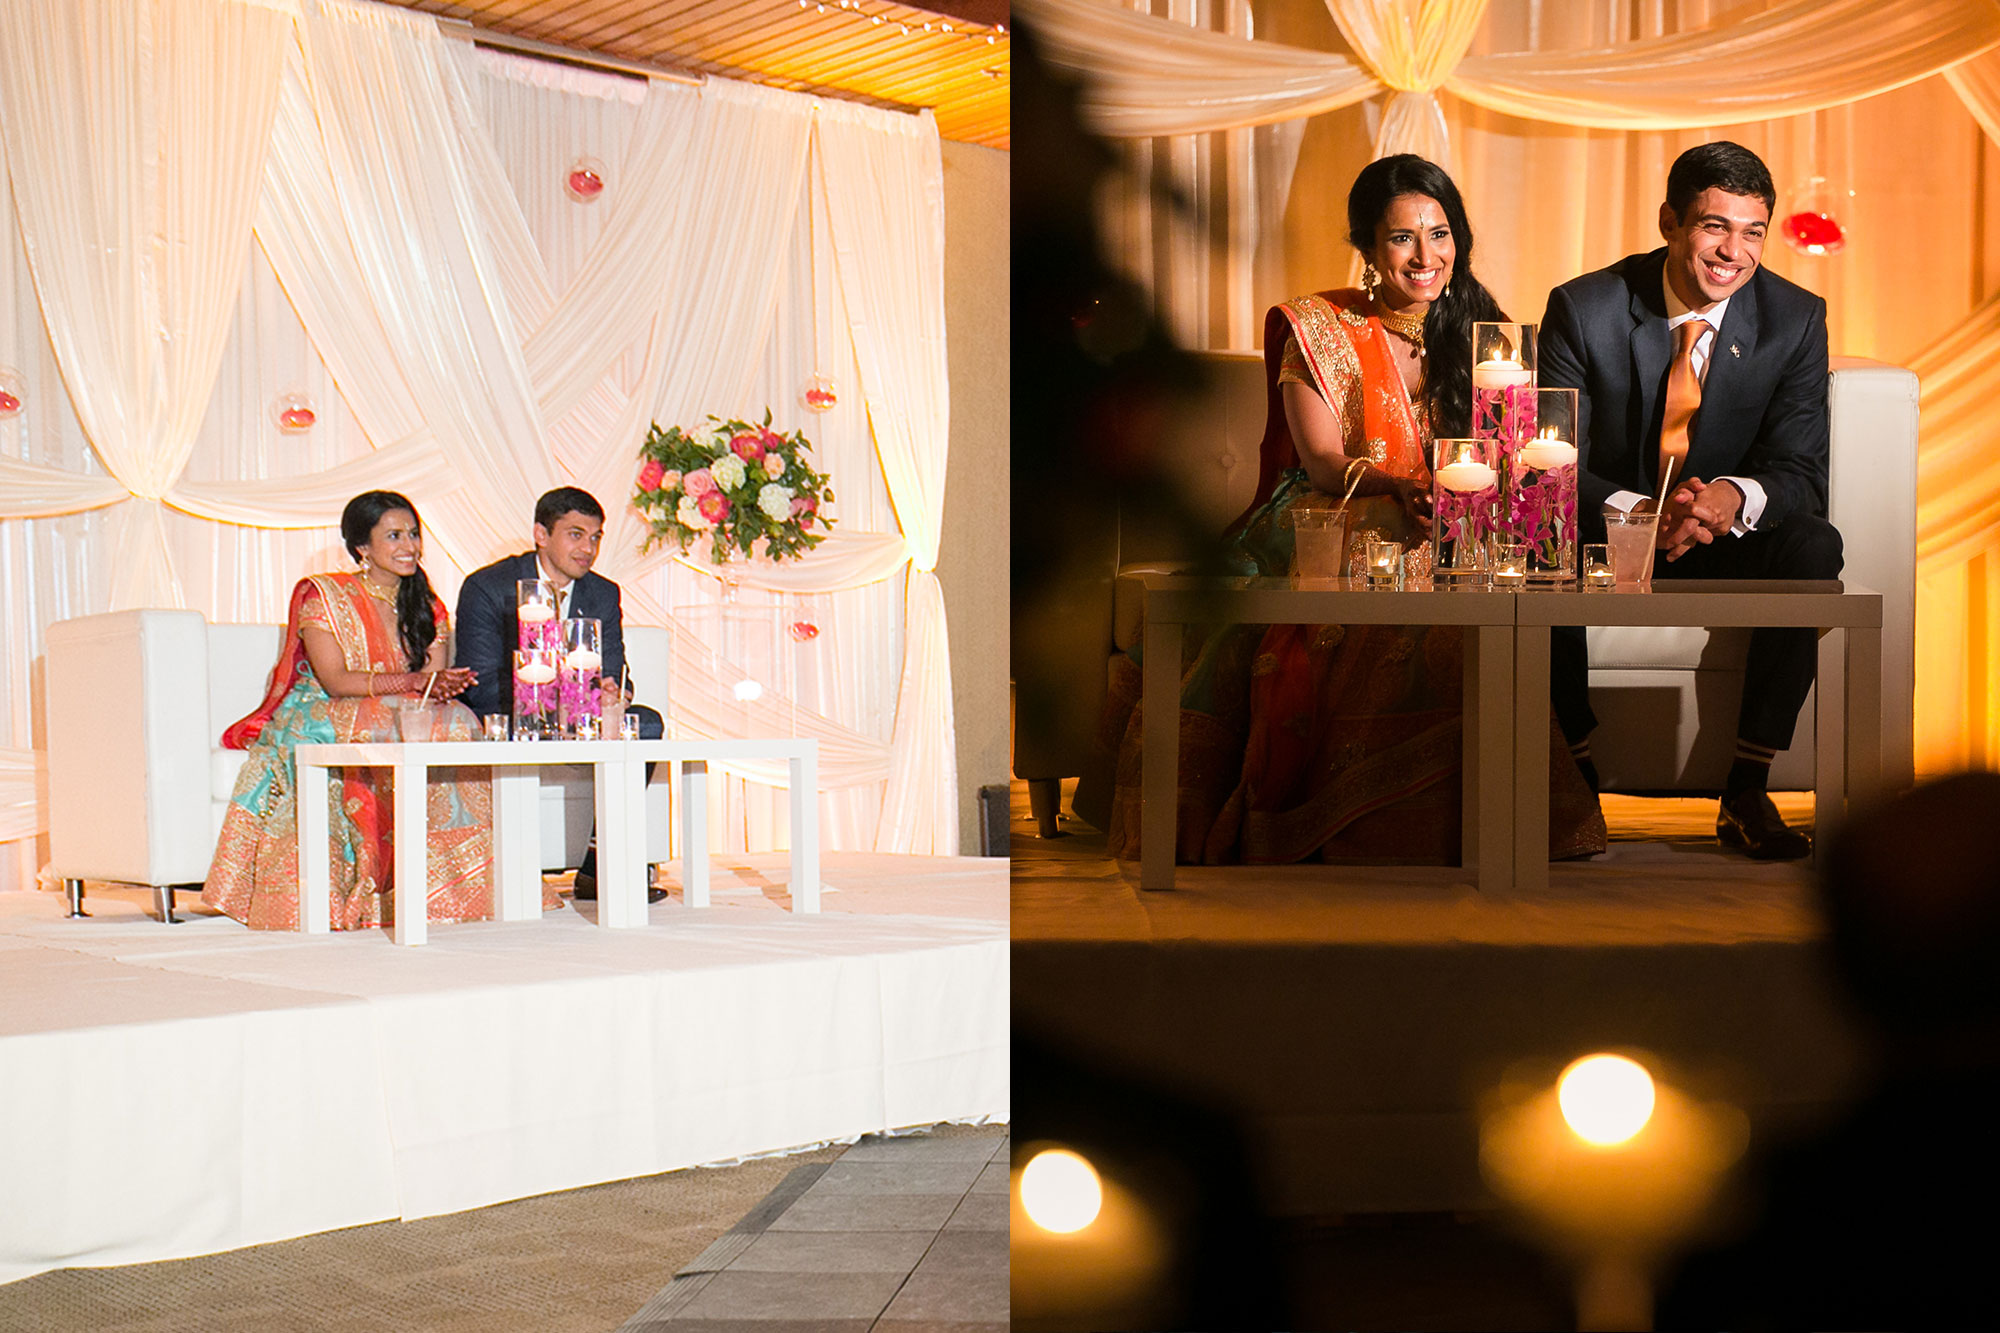
Wedding receptions are often lit to be dark and moody, so, we are going to need the help of flash to add some light to our scene. A bare flash is going to send light everywhere which will create bland and boring imagery (as you see on the left) and inevitably will ruin the intended mood and ambiance of the reception. We need something that can control our light spill while allowing us to move around and get consistent & creative shots of our scene, like the image on the right made with Magmod.
Reception lighting gear
 Whether you are shooting indoors or outdoors, it is imperative to have an off-camera flash on you for wedding reception photography. High ISO settings can only take you so far when it is pitch black outside, and can create nightmares in post-production due to high noise levels. Your best bet is to invest in a couple of items that will increase the quality of your images and also save you time and effort in post:
On-Camera Flash: ideally you want to invest in an on-camera flash that has an in-built trigger system. Pocket wizards will also work but in order to cut down on gear consider converting to a wireless trigger system. In this tutorial, we use a Canon Speedlite 600EX-RT on-camera to trigger our off-camera flashes (also Canon 600s).
Light Stand: We suggest investing in high quality light stands for longevity and durability. Our all-time favorite is the Manfrotto Black Nano Stand that extends up to 60″.
Grid: A.K.A the game changer. We love using the MagGrids to give us precise control over where you want your light, helping you to create photographs that capture the real feel & mood of the reception.
CTO Gel: Most wedding reception ballrooms have that unavoidable tungsten light, so in order to match the existing light you need to add a gel to your on & off camera flashes.
Equipment Summary
- Minimum Gear
- Lights
- 1x on-camera flash w/ focus assist + transmitter
- 1x off-camera flash w/ transmitter
- Light Modifiers
- 1x grid (MagMod)
- 1x flash gel CTO (MagMod)
- 1x light stand (Manfrotto Nano)
- Lights
- Ideal Gear
- Lights
- 1x on-camera flash w/ focus assist + transmitter
- 3x off-camera flash w/ transmitter
- Light Modifiers
- 4x flash gel CTO (MagMod)
- 4x flash grid (MagMod)
- 3x light stands (Manfrotto Nano)
- Lights
Here is a breakdown of our favorite gear:
- Favorite (all-in-one solution)
- $$$$ – Profoto A1
- Flashes (pair w/ MagMod)
- $$$ – Canon/Nikon
- $$ – Phottix
- $ – Yongnuo
- Constants (Specialized)
- $$$ – Westcott Icelight
- $$$ – Lowel GL-1
- $$ – Yongnuo Light Wand
- $ – Neewer 160 LED
Finally, here is a list of recommended must-have gear for lead and second shooters:

How to Use Flash for Wedding Receptions
Step one: dial in ambient light exposure (Get the right flash settings for wedding receptions)

Staying true to the ambiance of the wedding reception room here is key. Set your camera’s exposure bright enough to ensure that the colors, florals, & decor are visible. Roughly, we start at ISO 1600, 1/200th of a second, and our fastest aperture (usually f/2.8 for zooms). If we need more ambient we then bump up our ISO to 3200 and slow down our shutter to 1/100th, but be careful of adjusting shutter speed if you’ve got shaky hands!
Step two: Place maggrids on flash & aim flash at subjects

Figure out where the best location is to place your flash stands, and remember not to obstruct the view of the guests! Typically, we place one flash pointed towards the couple and one pointed towards the speaker. Kindly suggest that the speakers remain in that one spot to avoid having to re-adjust your flash. If you want more control, stack your MagGrids for a narrower beam of light.
Step three: Dial in appropriate flash power using iso as starting point
Depending on how high of an ISO setting you choose, determine the amount of flash power you will need to combat the existing lights if there are any, and balance between the flash and ambient light in the room. Use these settings as a rough point to start from:
- ISO 1600 @ f/2.8: 1/16th flash power
- ISO 3200 @ f/2.8: 1/32nd flash power

Now you can move about the scene capturing journalistic images from any angle while preserving the ambient light. With precise control you have the ability to find interesting compositions using decor or subjects as foreground that help incorporate all the elements of your client’s wedding day.
Watch the Facebook Live Here:
If you interested in the gear we discuss and learning more about photographing wedding receptions check out this workshop. We cover lighting, moments, positioning and so much more!
Lighting Technique #1: On-Camera Bounce Lighting

Let’s start with the most common technique for wedding reception photography, or any indoor event photography for that matter: bounce flash. This works great for most reception ballrooms because they are painted white or some neutral tone which essentially creates a softbox effect when you bounce a flash against it. The key to this technique is to point your flash backward so that the light coming back is hitting the subject at an angle rather than bouncing your flash directly overhead and creating harsh shadows under the eyes.
Flash Power: 1/8th – 1/4th Power, 1 on-camera flash
Lighting Technique #2: Pin Lighting
Many times in wedding receptions, you’ll find that the DJ/lighting crew sets up spotlights for grand entrances or for toasts. Along the lines of this idea, take your off-camera flashes and use them as pinned spotlights for your subjects. This technique works great for toasts since the speakers are usually close enough to the couple to be able to use one light to hit both of them.
Flash Power: 1/16th – 1/8th Power, 1-2 off-camera flashes
Lighting Technique #3: Rim Light

Let’s add onto technique #2 by quite literally adding in a second, or third, off-camera light. This time, the light is being used to chisel the subject out of the darkness by creating a rim light or hair light. This will yield images with higher production value and a more polished look. This is essentially a 2-light clamshell set up with one key light hitting the subject from the front and one rim light hitting the back of the subject’s head.
Flash Power: 1/16th – 1/8th Power, 2 off-camera flashes
Lighting Technique #4: Direct Flash

Direct flash gets a bad rep for looking too amateur, but there is a way to do it for stylistic purposes. Using your on-camera flash you can freeze subjects while incorporating motion into the shot. creating the effect that you see above.
Flash Power: 1/128th, on-camera flash
Lighting Technique #5: Statue of Liberty

This is just a fancy way of saying “hold your own damn flash”. We coined this term for run and gun scenarios where you want a strong key light and maybe don’t have an assistant handy. It creates that spotlight effect that pushes a strong and clean key light onto your subject. This is a perfect lighting technique for venues with crazy ambient lights.
Flash Power: 1/8th, off-camera flash
Conclusion and More Info
For more information on wedding photography, see the Wedding Photography Training System in SLR Lounge Premium. For more free articles, we recommend these articles:


Get Connected!