
Do you get stuck finding the most flattering pose for your female subjects? It’s most likely because you are stuck trying to perfect the big picture without noticing the small details.
Learning the subtle variations in hand placement, expressions, and body language will diversify your portfolio and give you a better understanding of the nuances of posing.
Our Complete Posing Workshop was designed to transform photographers into directors in order to help pose clients for what works best in the scene.
Purchase Page: The Complete Posing Workshop
Stream Now: SLRL Premium
Join PremiumStanding Portraits
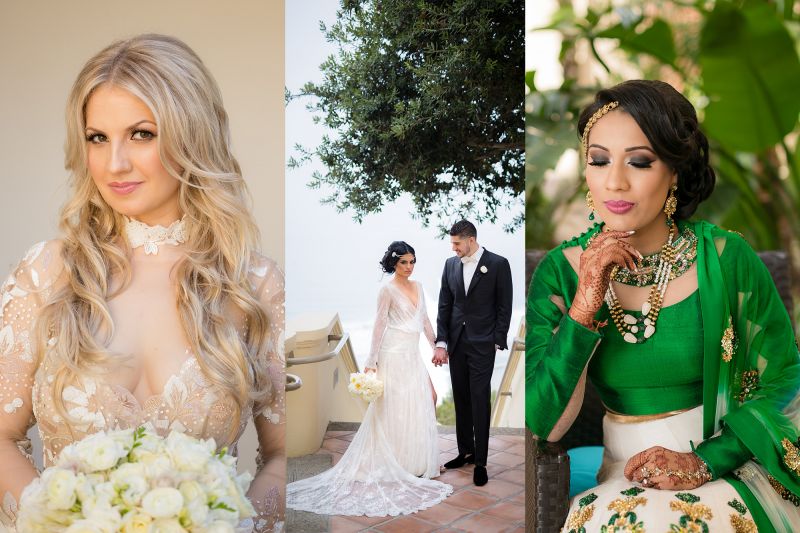
In Photographing the Bride we covered what to look for when posing your subject for standing portraits in order to accentuate femininity and curves. Highlighting your bride’s curves, softness and approachability can be done by adjusting the pose in 3 steps starting with:
- Narrow stances
- Hip kicked to one side
- Straight and lengthened spine

Always control the pose from the feet up: start by showing the body form and use the arms to frame the body to draw the eye in. For a more in-depth look on the do’s and don’t’s of posing, refer to this tutorial.
[REWIND: Why Hand Placement is Important]
Sitting Portraits
Seated subjects create a problem point for photographers mainly because of posture. Direct your subject to have a straight spine, hip kicked to a side, and to sit at the edge of the couch to maintain a strong posture in order to lengthen the torso and spine. Leaning forward eliminates foreshortening and maintains correct perspective.

You can see in the example above that in the same position we managed to get a variety of expressions. When it comes to creating a focus or feel of a portrait we like to use the 3-point check, derived from Roberto Valenzuela. The 3 points that dictate the overall focus and feel of the photograph are:
- Eyes
- Chin/Nose
- Sternum/Chest
High fashion / Editorial Portraits
The subject’s eyes draw us into a photo and by changing the placement of the eyes, chin, or chest we can create different focus points for the portrait. Effectively using the 3-point check can help us move from a traditional portrait to an editorial or high fashion look just by micro-adjustment of facial expressions and body language.
It’s important to understand how small subtleties like hand placement, head tilt, or eye direction, can change your client’s entire presence in portraits. Tilting the head toward the soft, or lower shoulder creates a softer stance and by tilting the head toward the strong, higher, shoulder creates a stronger stance.
[REWIND: 5 Posing Tips for Boudoir Photography]
Editorial Group Photo
Editorial photos can be tricky because we need to light and pose multiple people. Attitude is everything when it comes to editorial posing so make sure you direct your subjects with the intention of showing off some major sass. 
Hand placement plays a crucial role as well in dictating connection, so the more touchpoints here, the better. Learn more on why touchpoints are an important part of portraiture here.
[REWIND: B.Y.O.L: THE 3 LIGHT SETUP THAT ONLY REQUIRES ONE LIGHT]
Fun Group Photo
 Make sure to note your client’s VIPs and look for the opportunity to incorporate them in photos and capture those candid interactions. Giving instruction and then waiting for the opportune moment allows you get some great candid moments of laughter after your posed portraits.
This was just a taste, and you can pre-order The Complete Posing Workshop today and become part of the SLR Lounge Premium community! Upgrade to gain exclusive access to photography education – your path to portrait photography success.


Get Connected!