Smoke bombs are an incredibly easy and fun way to visually spice up your images. In this video, I’ll be walking through my smoke bomb photography tips to capture incredible portraits every time.
Video: Smoke Bomb Photography Tips for Capturing Epic Portraits
Smoke bombs not only add bright and vibrant colors, but are visually exciting to see. We can wave them around to create interesting motion or let the smoke create a nice haze. There are a ton of ways we can use them to enhance our images. Enola Gaye is widely known for their smoke bombs which produce beautiful and consistent effects, perfect for photography.
Let’s go through the steps of capturing some epic smoke bomb photography.
Related Reading: 5 Creative Ways to Use Smoke Bombs for Photoshoots. Note, this article is about smoke bomb photography. If you’re looking for tips and ideas for photographing smoke itself, see our article on smoke photography tips and ideas.
Safety First!
The new “TP” models of Enola Gaye’s smoke bombs features a venting system to prevent overheating in your hand. There are also “twin-vent” versions which shoots out the smoke from both ends. Unlike the single-vent, which provides 60 seconds of continuous smoke, the twin-vent lasts about 20 seconds. Due to this, I prefer to use two single-vents rather than one twin-vent.

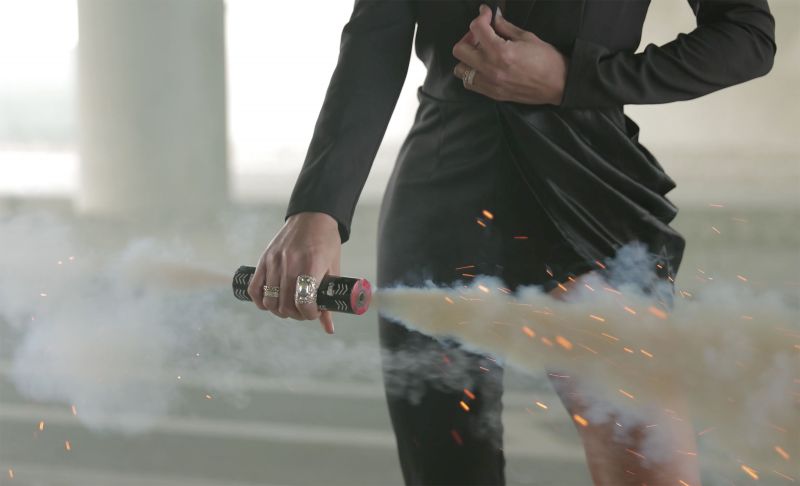
- To set off the smoke bomb, firmly grasp the middle. Then, pull the wire directly out.
- When moving with the smoke bomb, be extra careful not to point it directly at yourself or another person.
- Keep away from flammable materials.
- They can stain clothes if held close enough.
Now that we’ve covered how to safely use the smoke bombs, let’s set up the shot!
Composition
My model today is my good friend Kiara, whom you can check out on Instagram here. I chose this spot underneath an overpass to take advantage of the lines leading to the center. The main lights are pouring in from the sides, creating an edgy light to complement Kiara’s outfit.

I kept Kiara framed in the center and angled up to create a feeling of power and dominance.
The Gear
Today, I’m using one of my favorites: The Canon EOS R5 with the RF 15-35mm f/2.8 lens. While you can use any camera for smoke bomb photography, I recommend a wide angle lens to exaggerate everything in the scene.
Dialing in the Camera Settings

Ideally, the shutter speed for smoke bomb photography should be 1/500 sec or higher to capture all the details. Any slower risks motion blur as the smoke can move pretty quickly. The final settings I used are 1/1000 sec, f/2.8, ISO 800.
Set Off the Smoke & Photograph!
Rehearse the movements and poses with your model without the smoke first. Then, throw in the smoke bombs, set them off, and start photographing!

Check out some of my favorites, edited with the Crush Preset Pack from Visual Flow.
Conclusion
I hope you enjoyed this tutorial for smoke bomb photography! Smoke bombs are incredibly fun to use and can add so much visual interest to your photographs. Head over to Enola Gaye to get your own for your next photoshoot. You can also spice up your iPhone photography using smoke bombs. To check out how we did, head over to Creative Photography 101 from SLR Lounge Premium.
Thanks for joining us this week, and we’ll see you next time!


Get Connected!