Adobe has made a relatively major update to Camera Profiles (now known simply as ‘Profiles’) which affects Adobe Camera Raw, and all versions of Lightroom from CC to Classic to Mobile, along with other updates to the suite of Apps. None of which, however, overshadow the Profiles update.
Profiles are essentially interpretations of the data in a raw file used for creative purposes. We know that raw files are essentially a collection of ingredients of a recipe that is an image, and each processor will therefore read/mix those ingredients/data a bit differently giving a different look – hence your images look different in Adobe systems as they will in Capture One.
Similarly, each camera will record the data differently, and Profiles are variants of all of this, and all of the Adobe raw profiles were created with the intention of providing a unified look and feel, regardless of which camera was used. This can be incredibly helpful when upgrading from one camera to another, and if you’re using multiple cameras for the same shoot

Here’s how Adobe describes Profiles:
In photography and digital imaging, the term “profile” can mean many different things. There are color profiles, display profiles, printer profiles, working profiles, and so on. Within ACR and Lightroom, a profile is used to render your photograph, converting it from raw camera information into the colors and tones that we see.
For raw photographs, we build profiles for nearly every camera make and model we support (our DNG format enables camera manufacturers to build their own profiles). Our profiles incorporate deep imaging science and take into consideration the colors of the filters used on top of the sensors (the array of red, green, and blue filters that help an otherwise colorblind sensor “see” the colorful world around us), the specific sensitivity of the sensor used, the sensor’s characteristics in different lighting conditions and with different ISO values to interpret the digital 1s and 0s into images inside Adobe photography products.
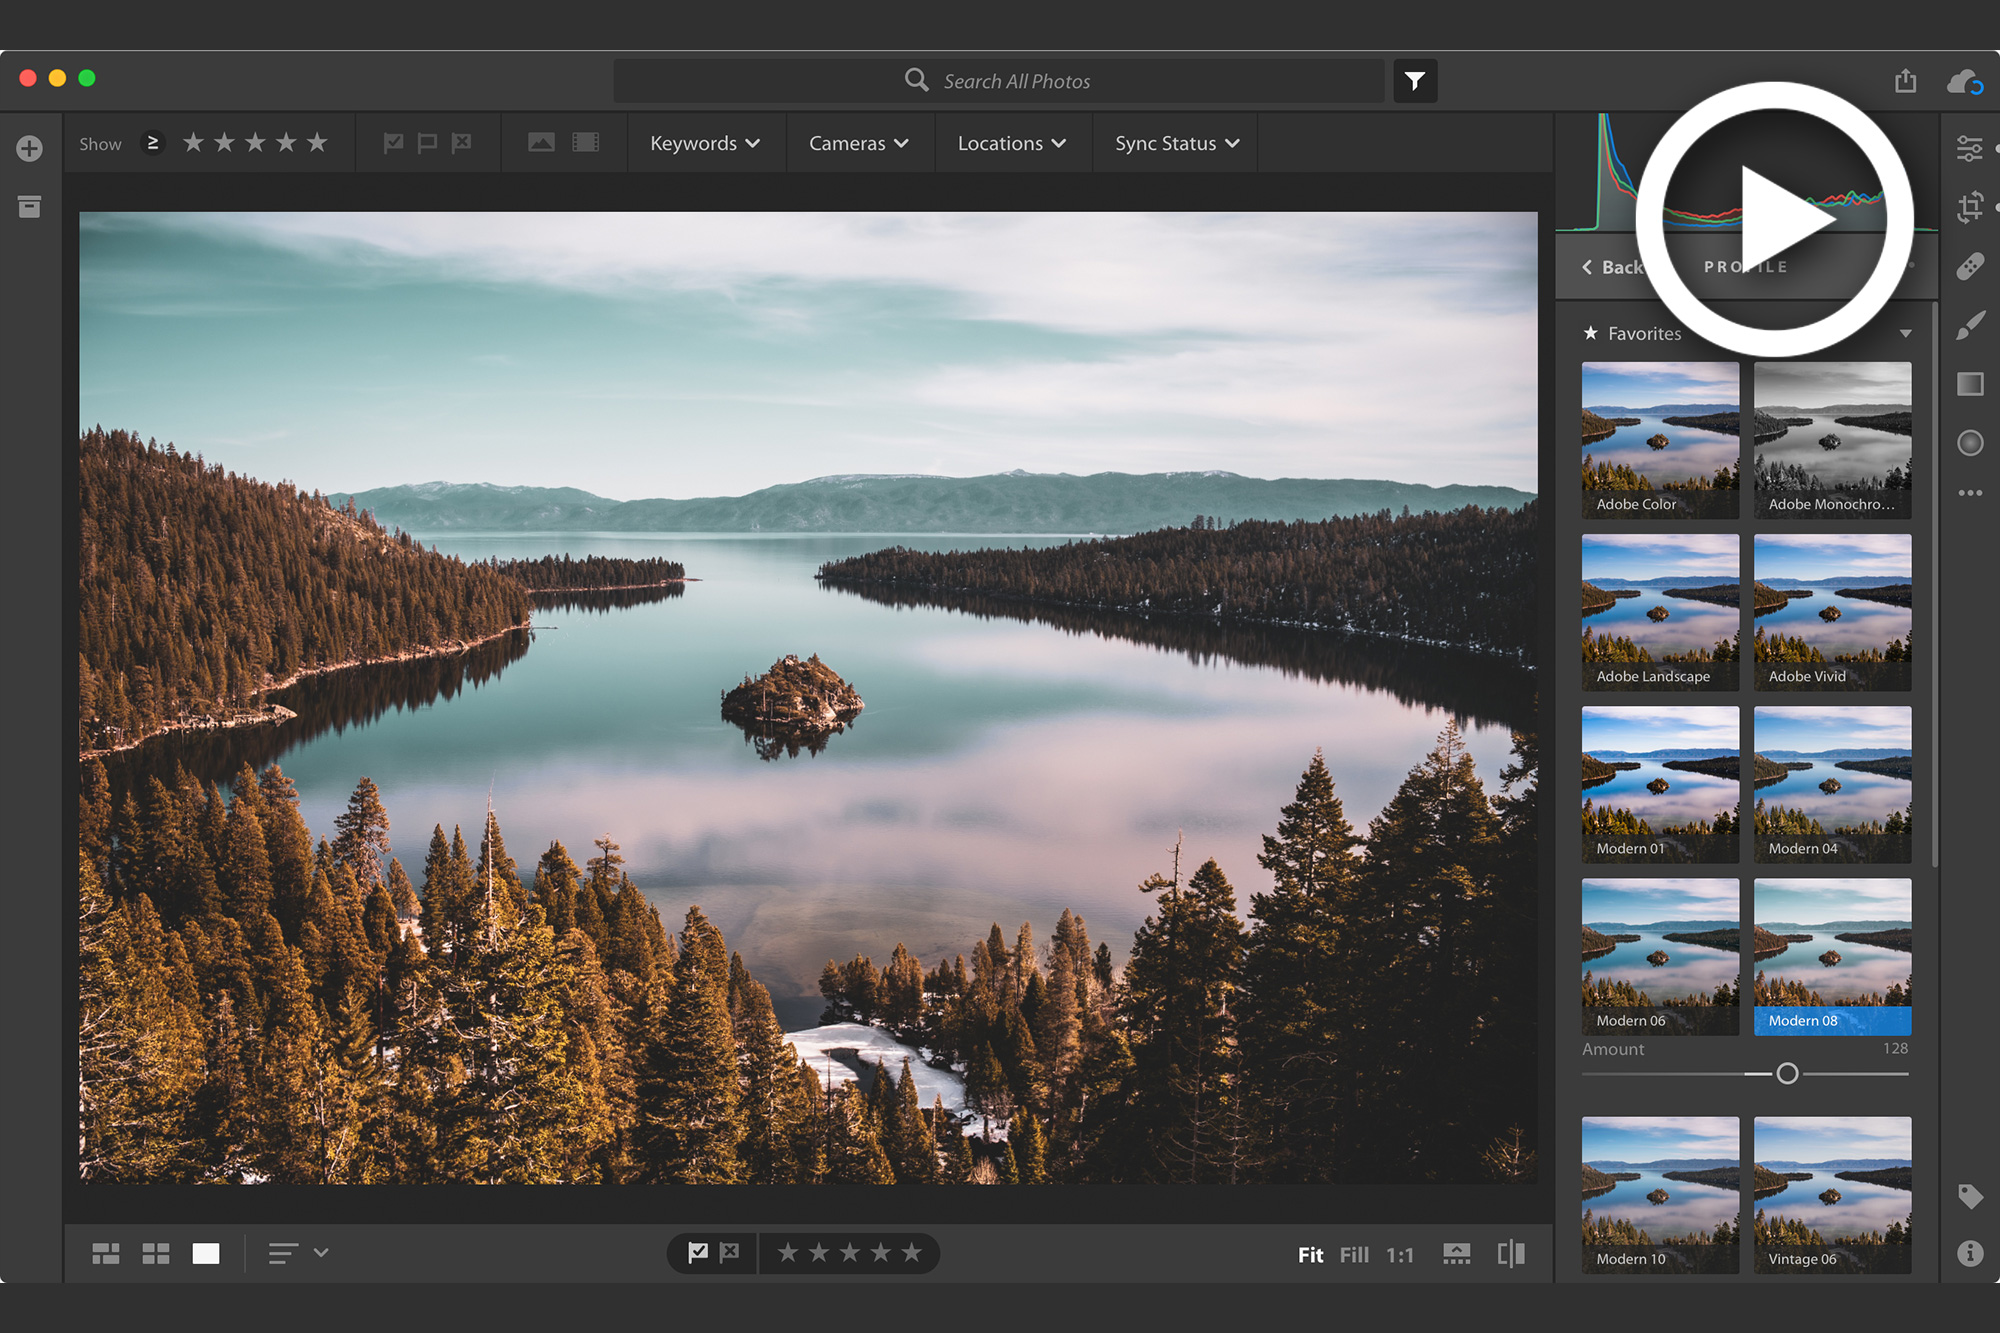
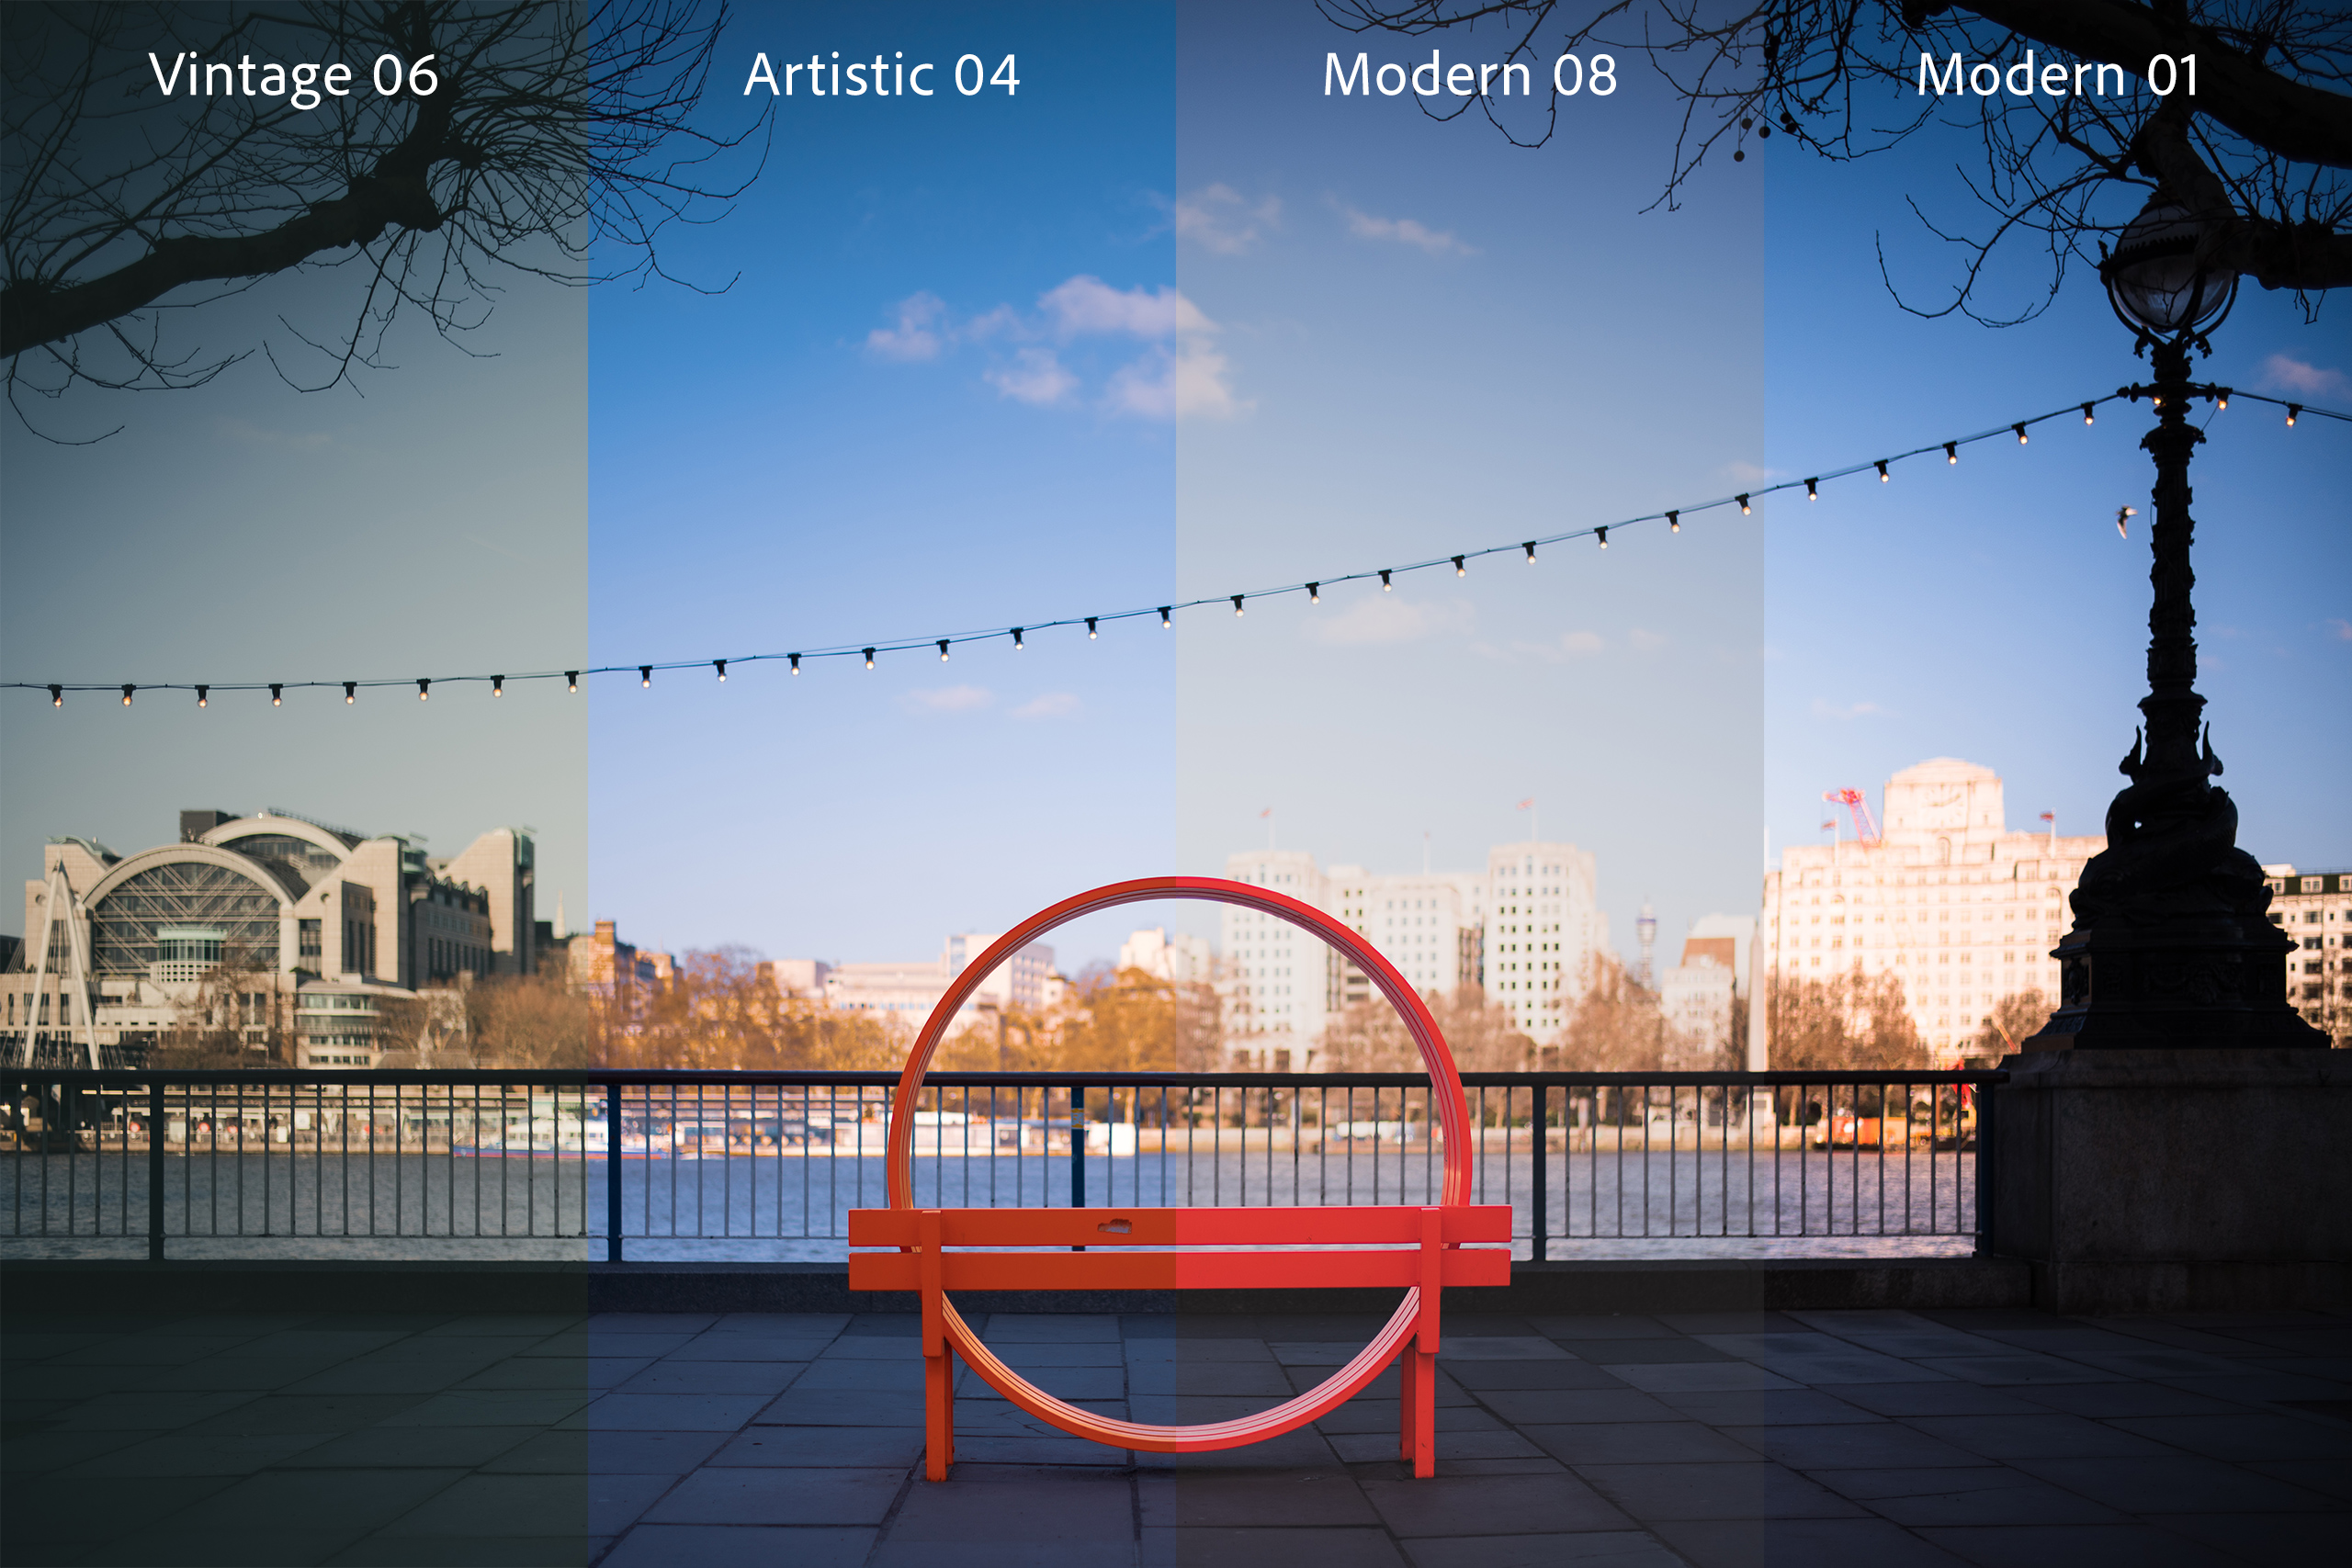
And here’s a look at all the new profiles:

Adobe Color was designed to greatly improve the look and rendering of warm tones, improving the transitions between certain color ranges, and slightly increasing the starting contrast of your photos. Since Adobe Color is the new default (but only for newly imported photos), it was designed to work on the widest range of photos and ensures that regardless of the subject, your photo will look great.
Adobe Monochrome has been carefully tuned to be a great starting point for any black and white photograph, resulting in better tonal separation and contrast than photos that started off in Adobe Standard and were converted into black and white.
Adobe Portrait is optimized for all skin tones, providing more control and better reproduction of skin tones. With less contrast and saturation applied to skin tones throughout the photo, you get more control and precision for critical portraiture.
Adobe Landscape, as the name implies, was designed for landscape photos, with more vibrant skies and foliage tones.
Adobe Neutral provides a starting point with a very low amount of contrast, useful for photos where you want the most control or that have very difficult tonal ranges.
Adobe Vivid provides a punchy, saturated starting point.
Now, Profiles don’t really work the same way for non-raw image formats because in those files the data has been processed already, though you can still apply these for a specific look should you want to.
To further expand the ability to change looks and get creative, Adobe has added the inclusion of a 3D Lookup Tables that can be included within a profile which should allow for editing options and precision beyond what were previously possible in Lightroom. And there’s also a new ‘Amount’ slider allowing easy strength control.
Profiles, however, should not be confused with Presets. Presets are a collection of alterations to be made after an image is processed and have nothing to do with representing camera characteristics under normal conditions as Profiles are meant to.
You can check out some how-to videos below which will show you the ways in which to use Profiles in the various applications within the Adobe ecosystem.
If you made it this far and this is up your alley, check out the Lightroom Workshop if you want to make the most of your investment and time and post processing – there is simply nothing better, and of course SLR Lounge Premium members get that workshop and all the rest


Get Connected!